Browser-verified web design
| Section | Use cases |
| Time to complete | ~30 min |
| Model | muse-spark-1.3 |
| Harness | OpenCode + Playwright browser MCP |
| Prerequisites | series setup(opens in new tab) |
A Meta Model Cookbook recipe — web design with a coding agent that checks its own work in a real browser.
This recipe walks through building a small marketing website from a single natural-language prompt using OpenCode(opens in new tab) driven by the Muse Spark model. The twist that makes it reliable: we give the agent a Playwright browser MCP so it can open the page it just wrote, look at the rendered pixels, and fix what's wrong — the same loop a human front-end dev runs.
We build a real example end-to-end: a retro CRT-terminal landing page for a fictional company, Mesh Network Solutions, featuring an ASCII-art logo whose characters scatter away from your cursor. Then we run a refinement pass to restyle it into a green-phosphor terminal aesthetic — showing how to iterate with the agent, not just one-shot it.
What you'll learn
- How to point OpenCode at the Muse Spark model.
- How to install and enable the Playwright browser MCP so the agent can see its own output.
- The build → browser self-check → refine loop that turns a rough first draft into a polished page.
- Prompting patterns that get good results (and the failure modes to steer around).
The finished result
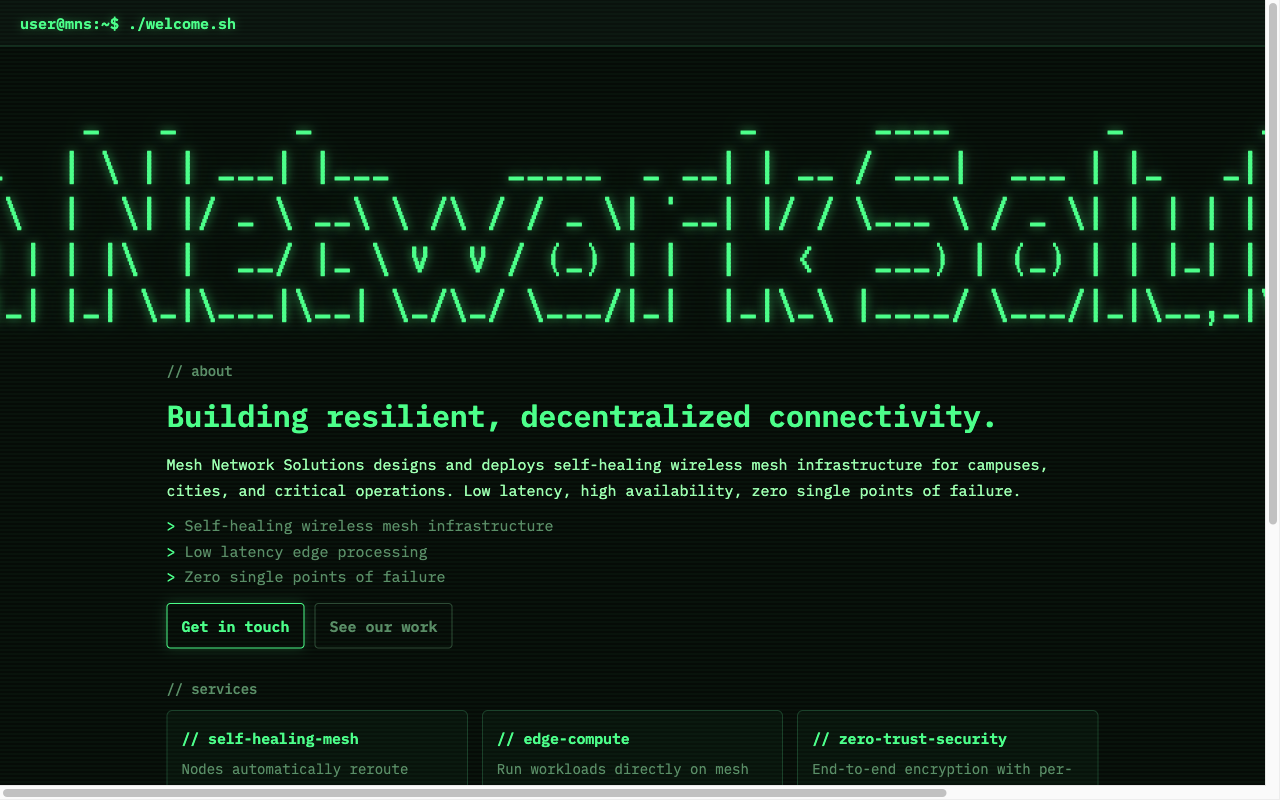
The one prompt below produced a working, self-contained site (index.html, style.css, script.js). After a refinement pass, here's the final rendered page — note the phosphor-green palette, scanline overlay, terminal header, and the ASCII logo mid-dispersion as the cursor moves across it:
Screenshots throughout are from an actual run; because the model is non-deterministic, your results may differ.
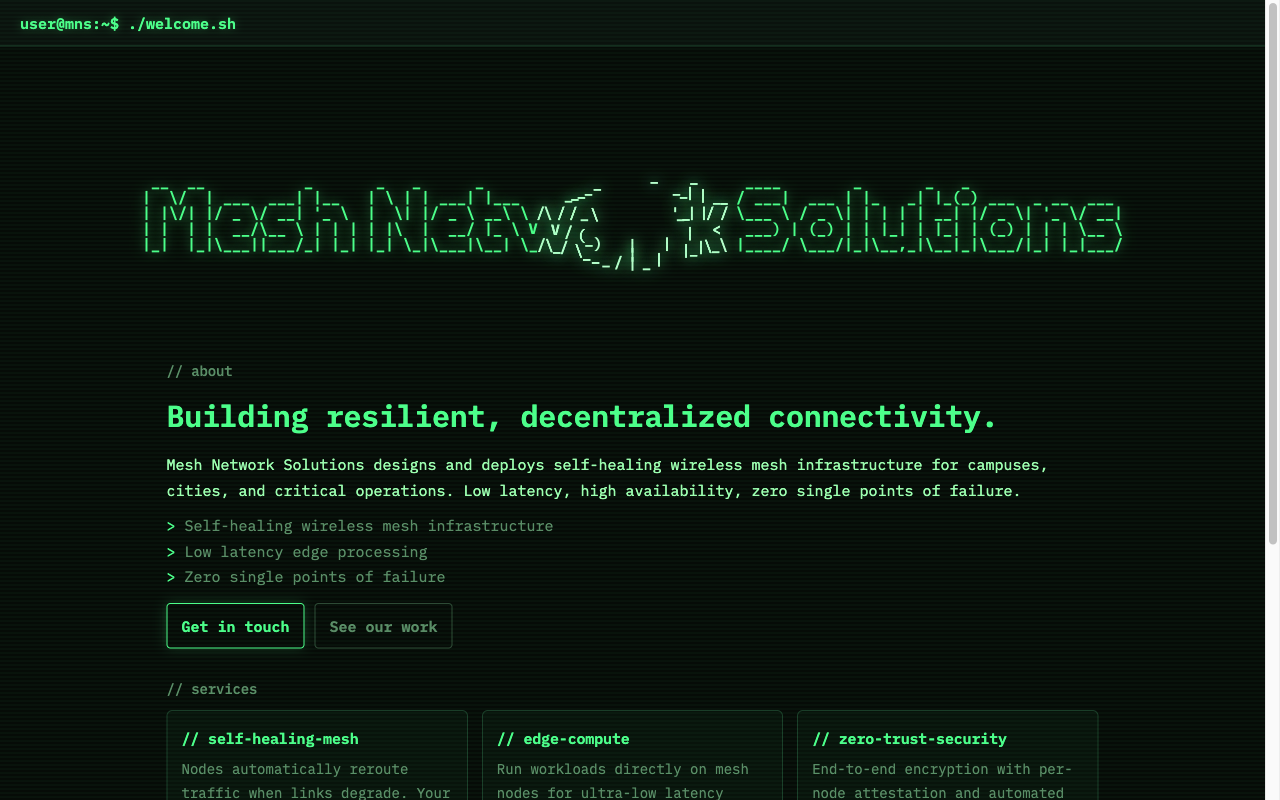
At rest (cursor away from the logo) the ASCII art snaps back into a crisp block-letter wordmark:
Prerequisites
- OpenCode installed (
opencode --version— this recipe used1.17.13). Install:curl -fsSL https://opencode.ai/install | bash - Node.js (for the Playwright MCP, which runs via
npx).node --version≥ 18. - A Meta API key from the Model API dashboard under API keys → Create API key — used to connect OpenCode's built-in Meta provider (see below).
- A terminal. That's it — the demo site has no build step.
Step 1 — Connect the Meta provider
OpenCode has built-in support for the Meta provider.
First, get an API key from the Model API dashboard under API keys → Create API key.
Launch OpenCode, then run the connect command:
A searchable "Connect provider" list appears. Type to filter, select Meta, and confirm. Then paste the key from the dashboard into the "API key" prompt.
Step 2 — Select Muse Spark 1.1
After connecting the provider, choose Muse Spark 1.1. The status bar should read Muse Spark 1.1 · Meta, confirming it's live.
Tip: Muse Spark 1.1 is a reasoning + vision model — that's what lets it actually read the screenshots the browser MCP hands back. Without vision, the browser self-check degrades to reading the accessibility tree only.
Step 3 — Install the Playwright browser MCP
This is the piece that lets the agent see. The Playwright MCP(opens in new tab) exposes browser-automation tools (navigate, snapshot, screenshot, click, type, evaluate JS…) over the Model Context Protocol. OpenCode launches it on demand via npx.
Add an mcp block to ~/.config/opencode/opencode.jsonc:
jsonc
The first run downloads the browser binaries. To pre-install them (avoids a stall on first use):
bash
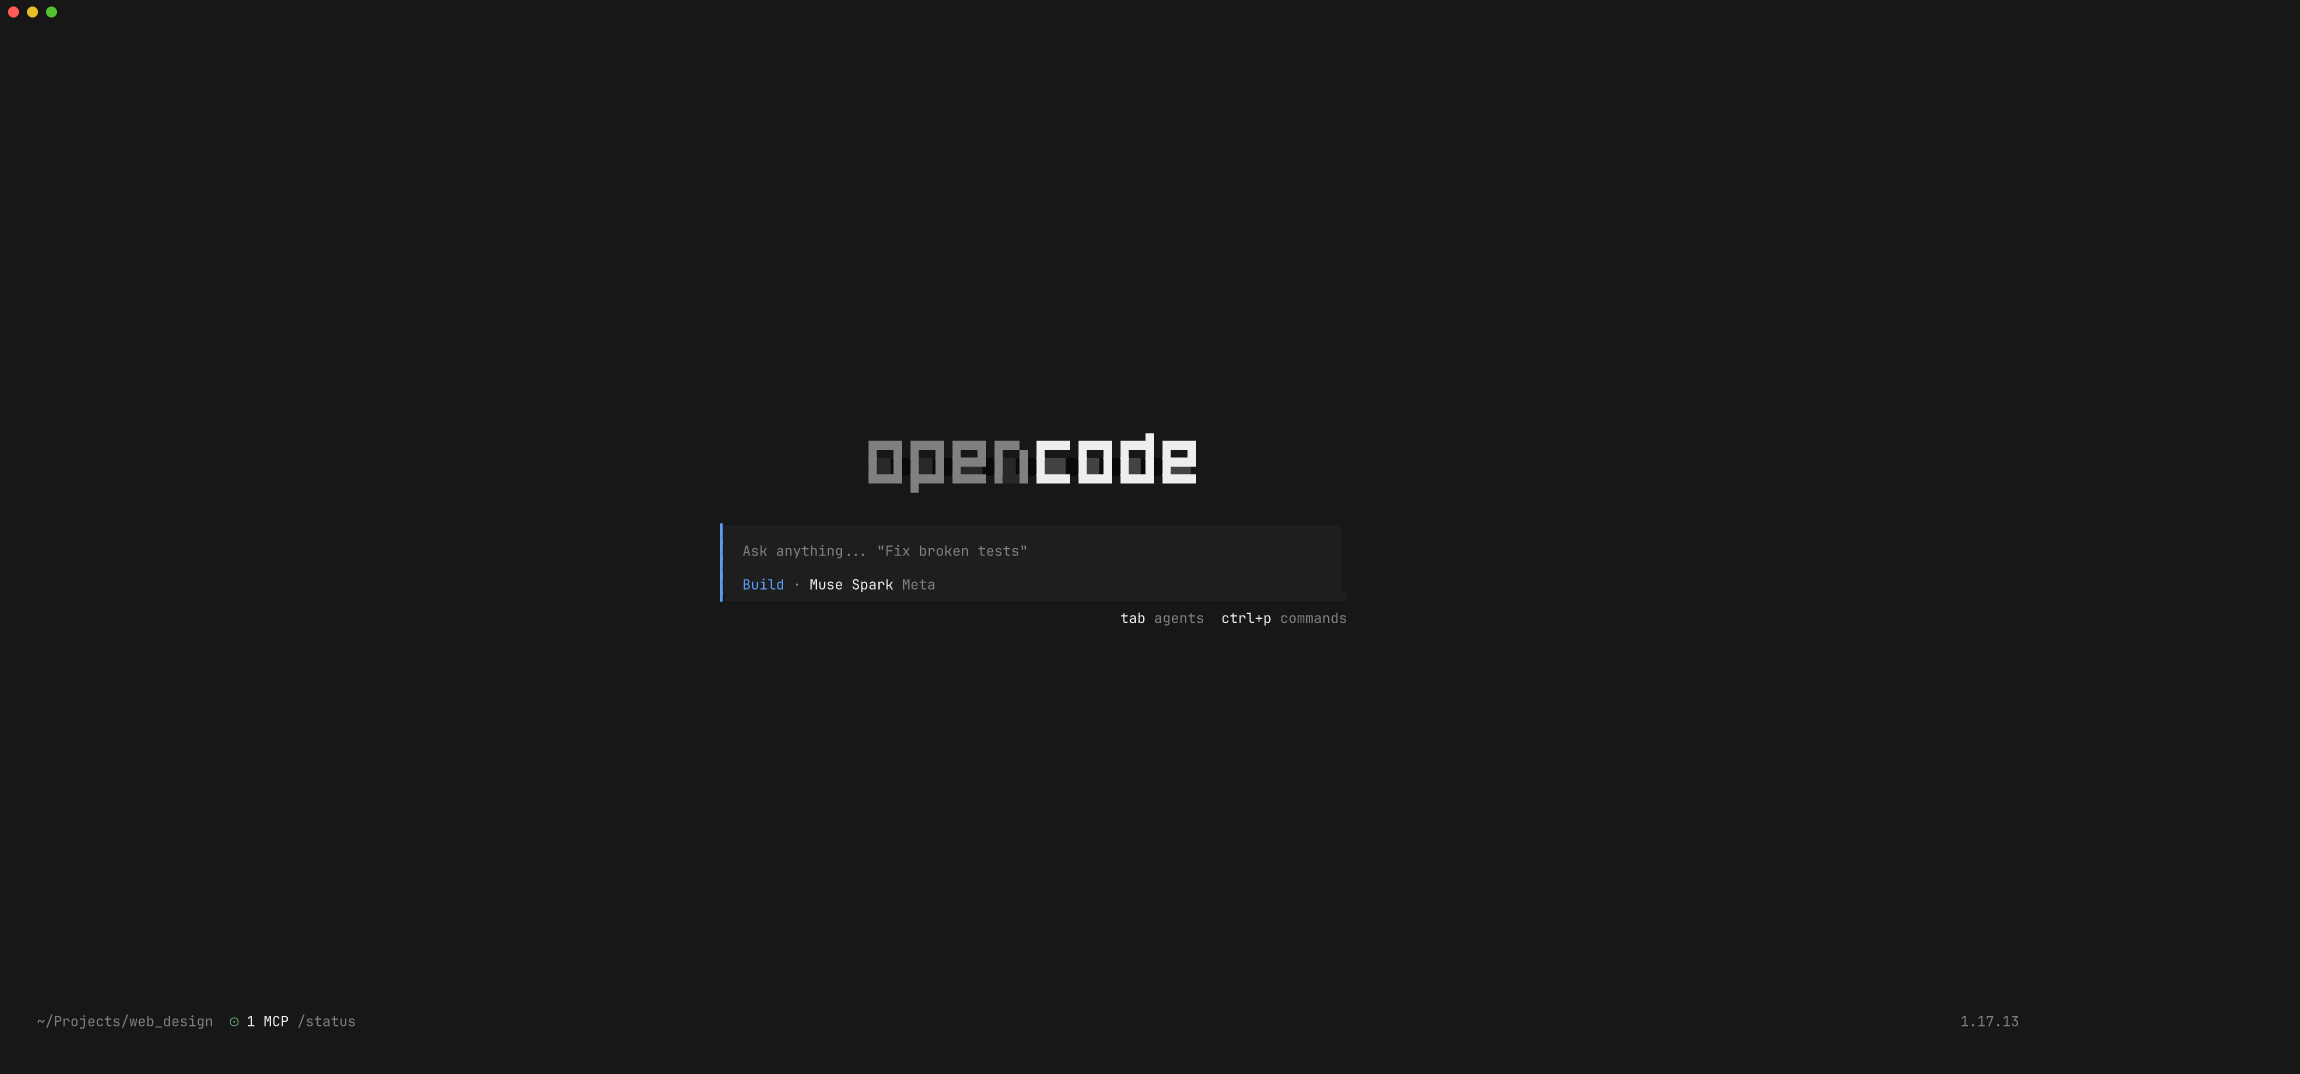
Confirm it's wired up. Launch OpenCode and check the MCP indicator — the footer shows the MCP count, and /mcp lists connections. You want playwright Connected:
Step 4 — Launch OpenCode with Muse Spark 1.1
From the directory you want the site created in:
bash
The model name in the bottom bar should read Muse Spark 1.1 · Meta, and the footer should show your MCP servers connected (⊙ 1 MCP in our setup — just playwright).
Step 5 — Prompt the build
Type a plain-language description of what you want. This is the exact prompt used to generate the example site — no framework jargon, just intent:
I want to create a new website for my company named "Mesh Network Solutions". Create me a template with a title website showing the company name in ASCII art in a terminal-like font and create an interactive effect which will disperse the symbols away from the cursor in a circular range. Put some placeholder text under the logo.
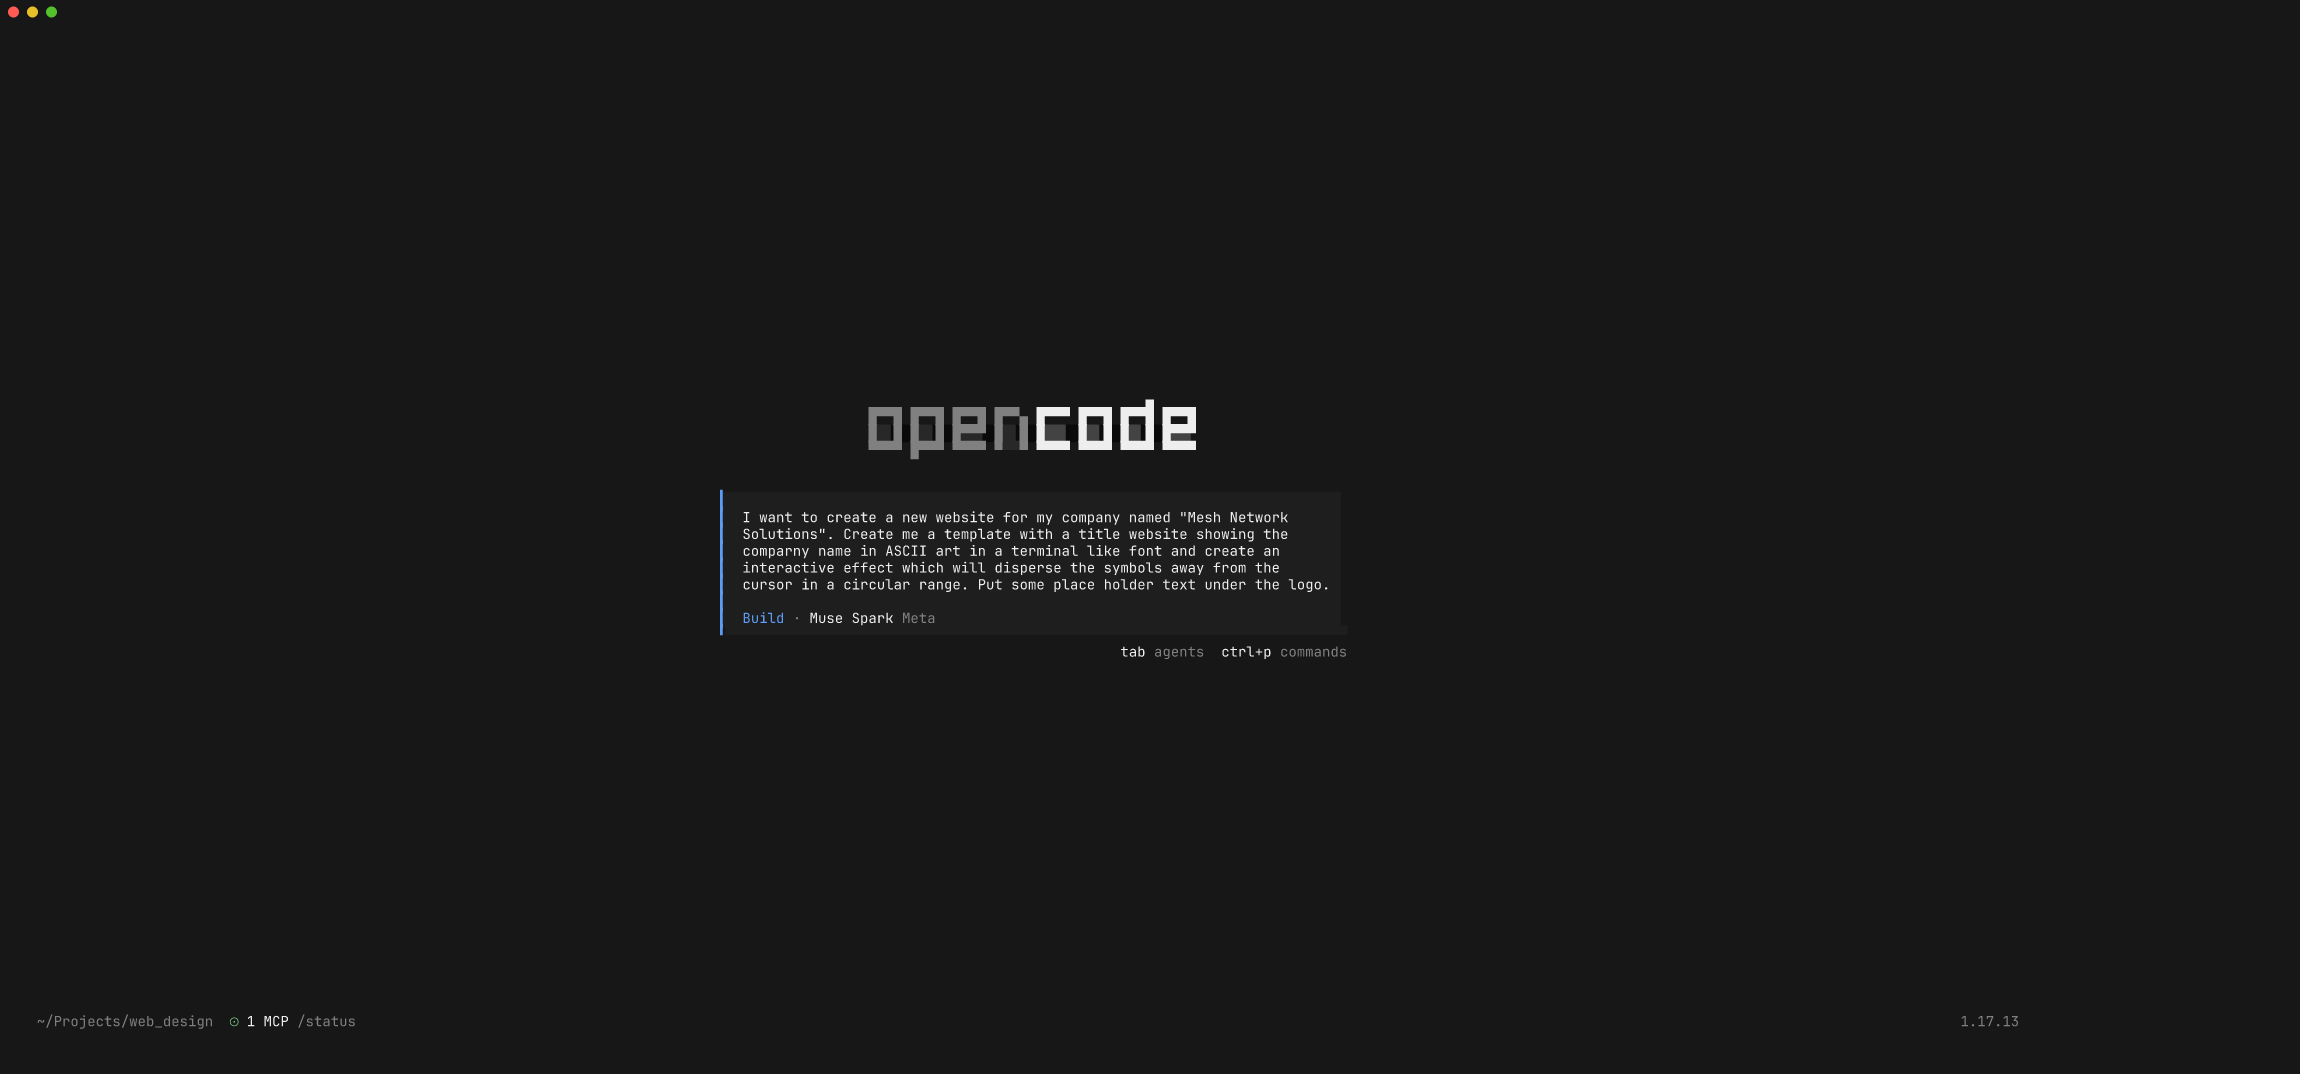
Hit enter. Muse Spark plans, then writes the files. You'll watch it stream index.html, then style.css, then the script.js with the cursor-repulsion particle logic:
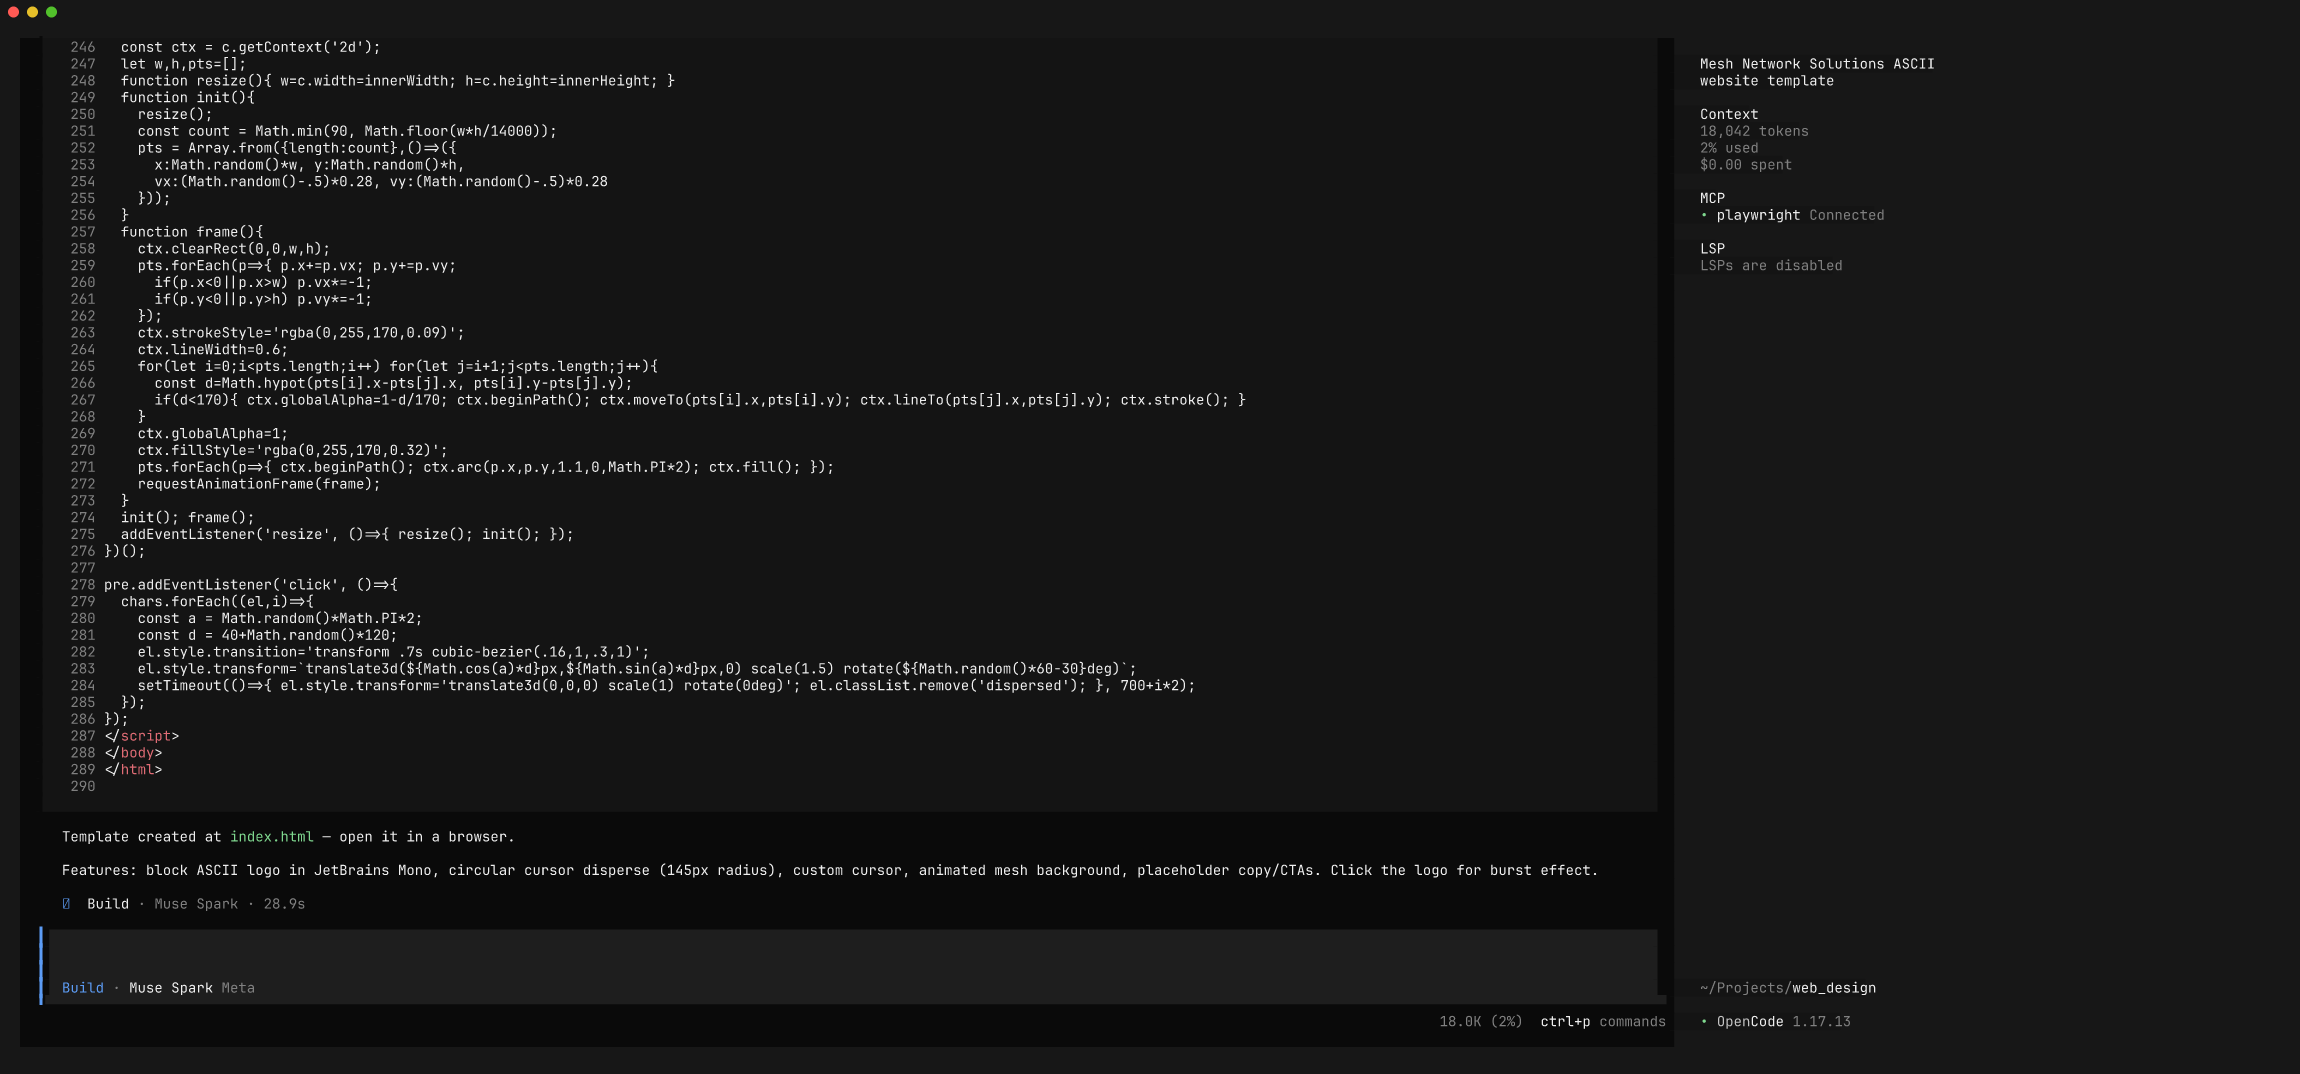
In our run this took ~39 seconds and produced three self-contained files. So far this is a one-shot generation — plausible, but unverified. That's where most agent website demos stop, and it's exactly where things quietly go wrong (mis-aligned art, invisible text, broken layout). Next we make the agent prove it works.
Step 6 — Let the agent check its own work in the browser
This is the heart of the recipe. Ask Muse Spark to open the page in a real browser and review it:
Now use the Playwright browser MCP to check your work. Serve the folder on a local port, navigate to the page at a 1280x800 desktop viewport, take a page snapshot and a screenshot, then move the mouse across the center of the ASCII logo and take another screenshot so we can see the dispersion effect responding to the cursor. Review the screenshots: is the ASCII logo centered and readable, does the terminal theme look right, and is the placeholder text visible? Report what you actually see.
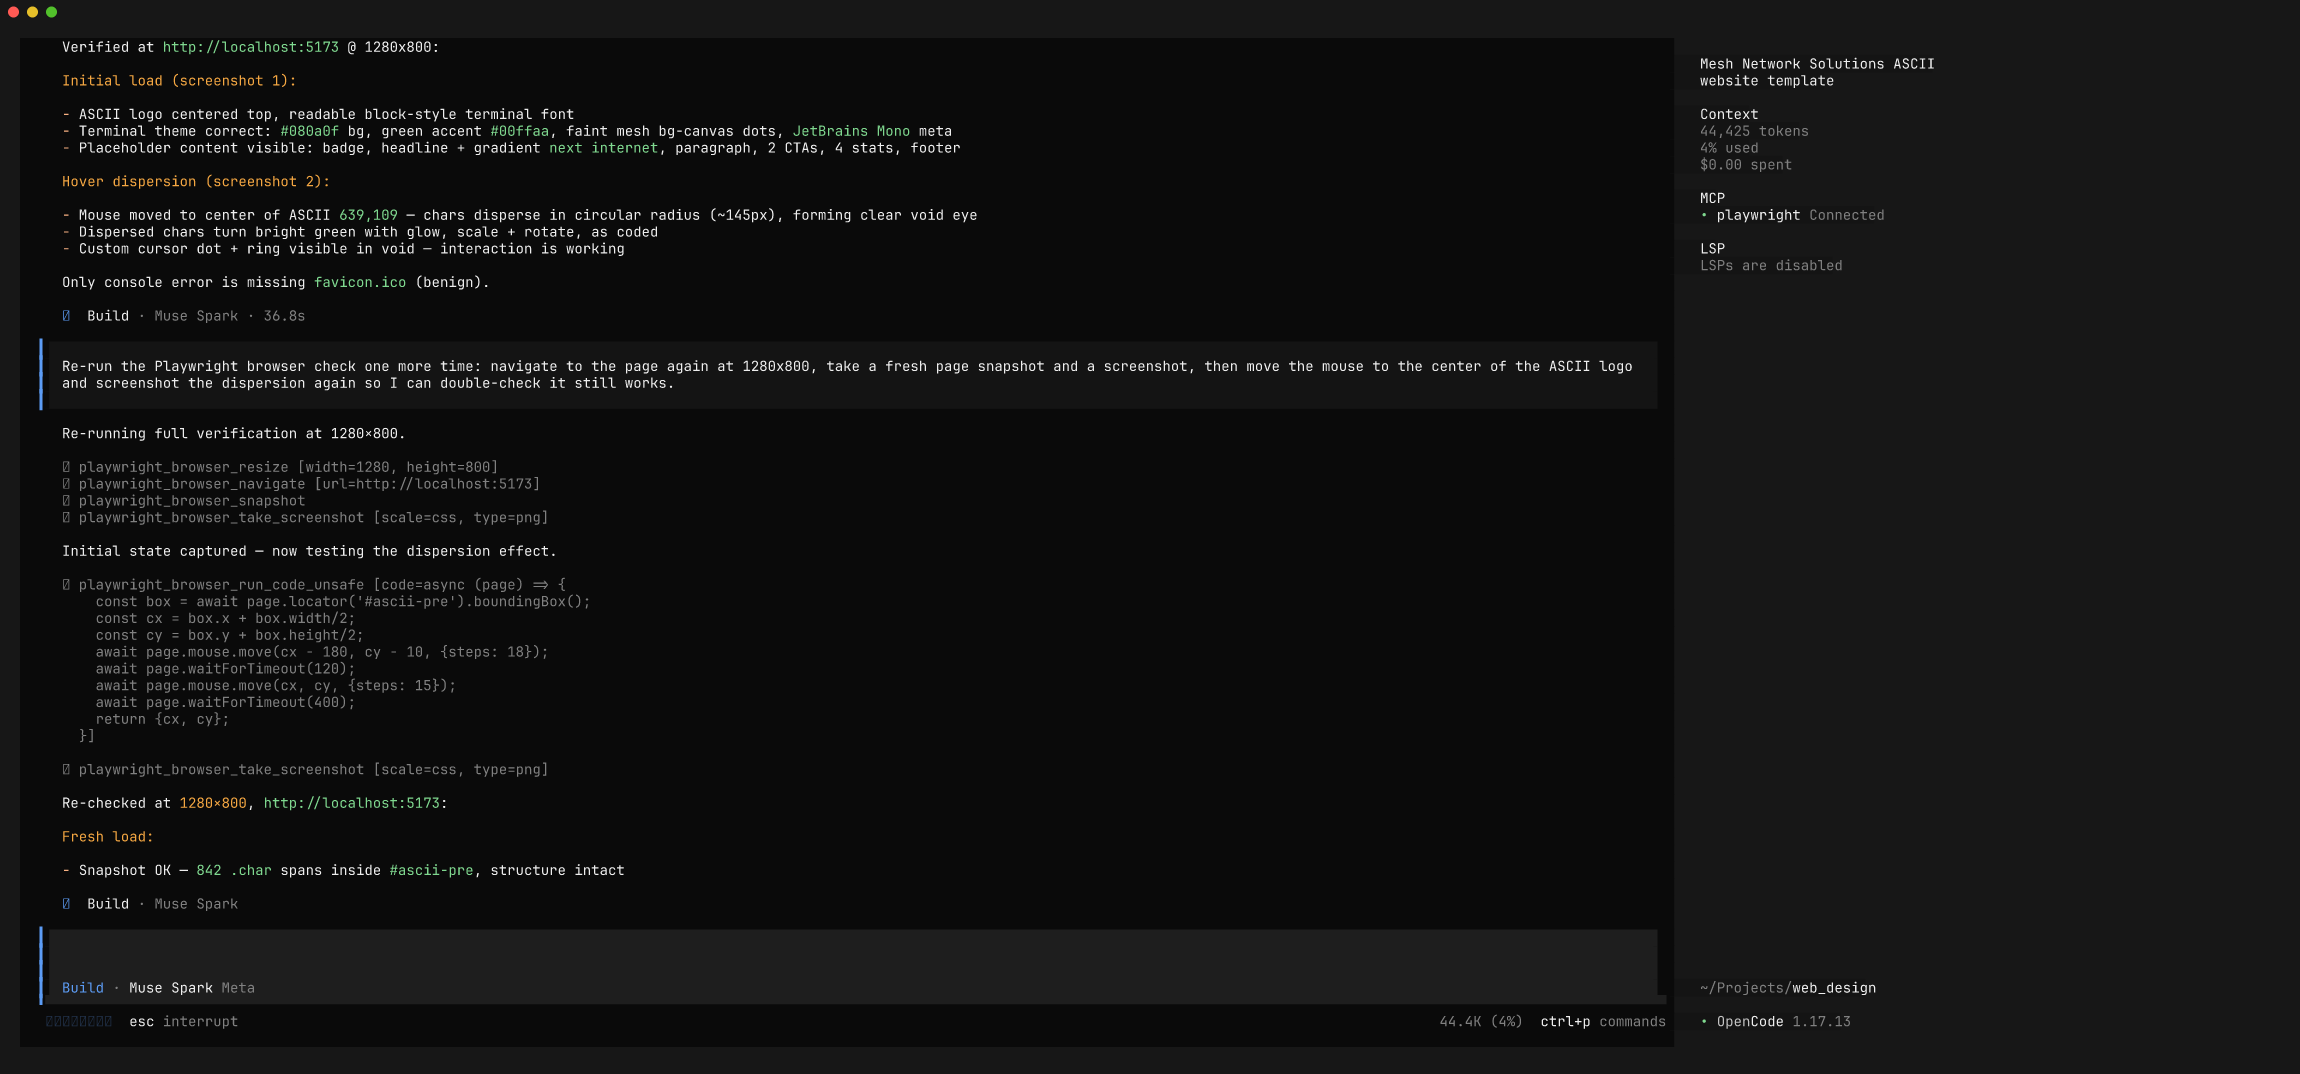
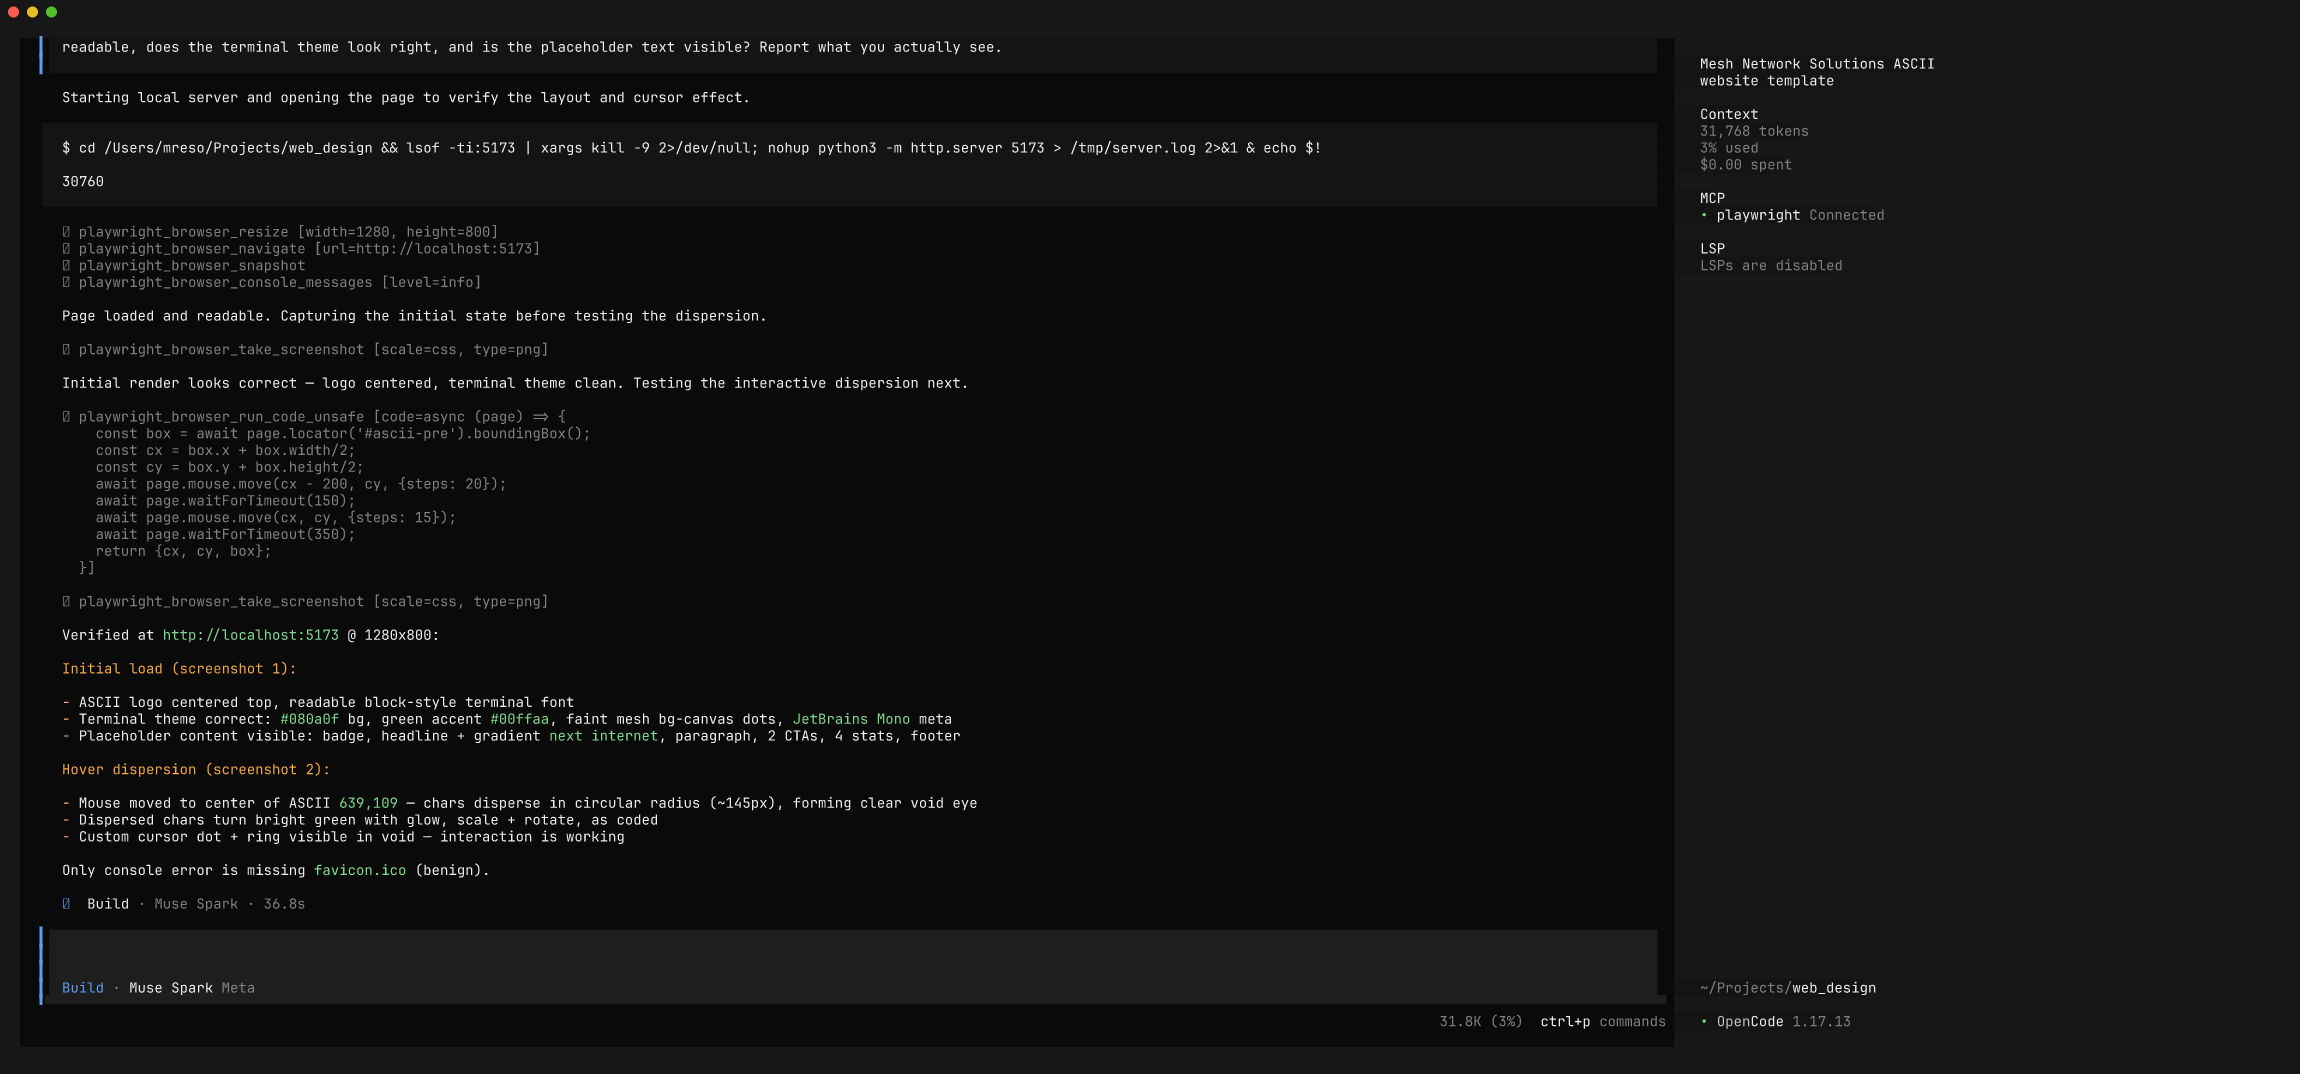
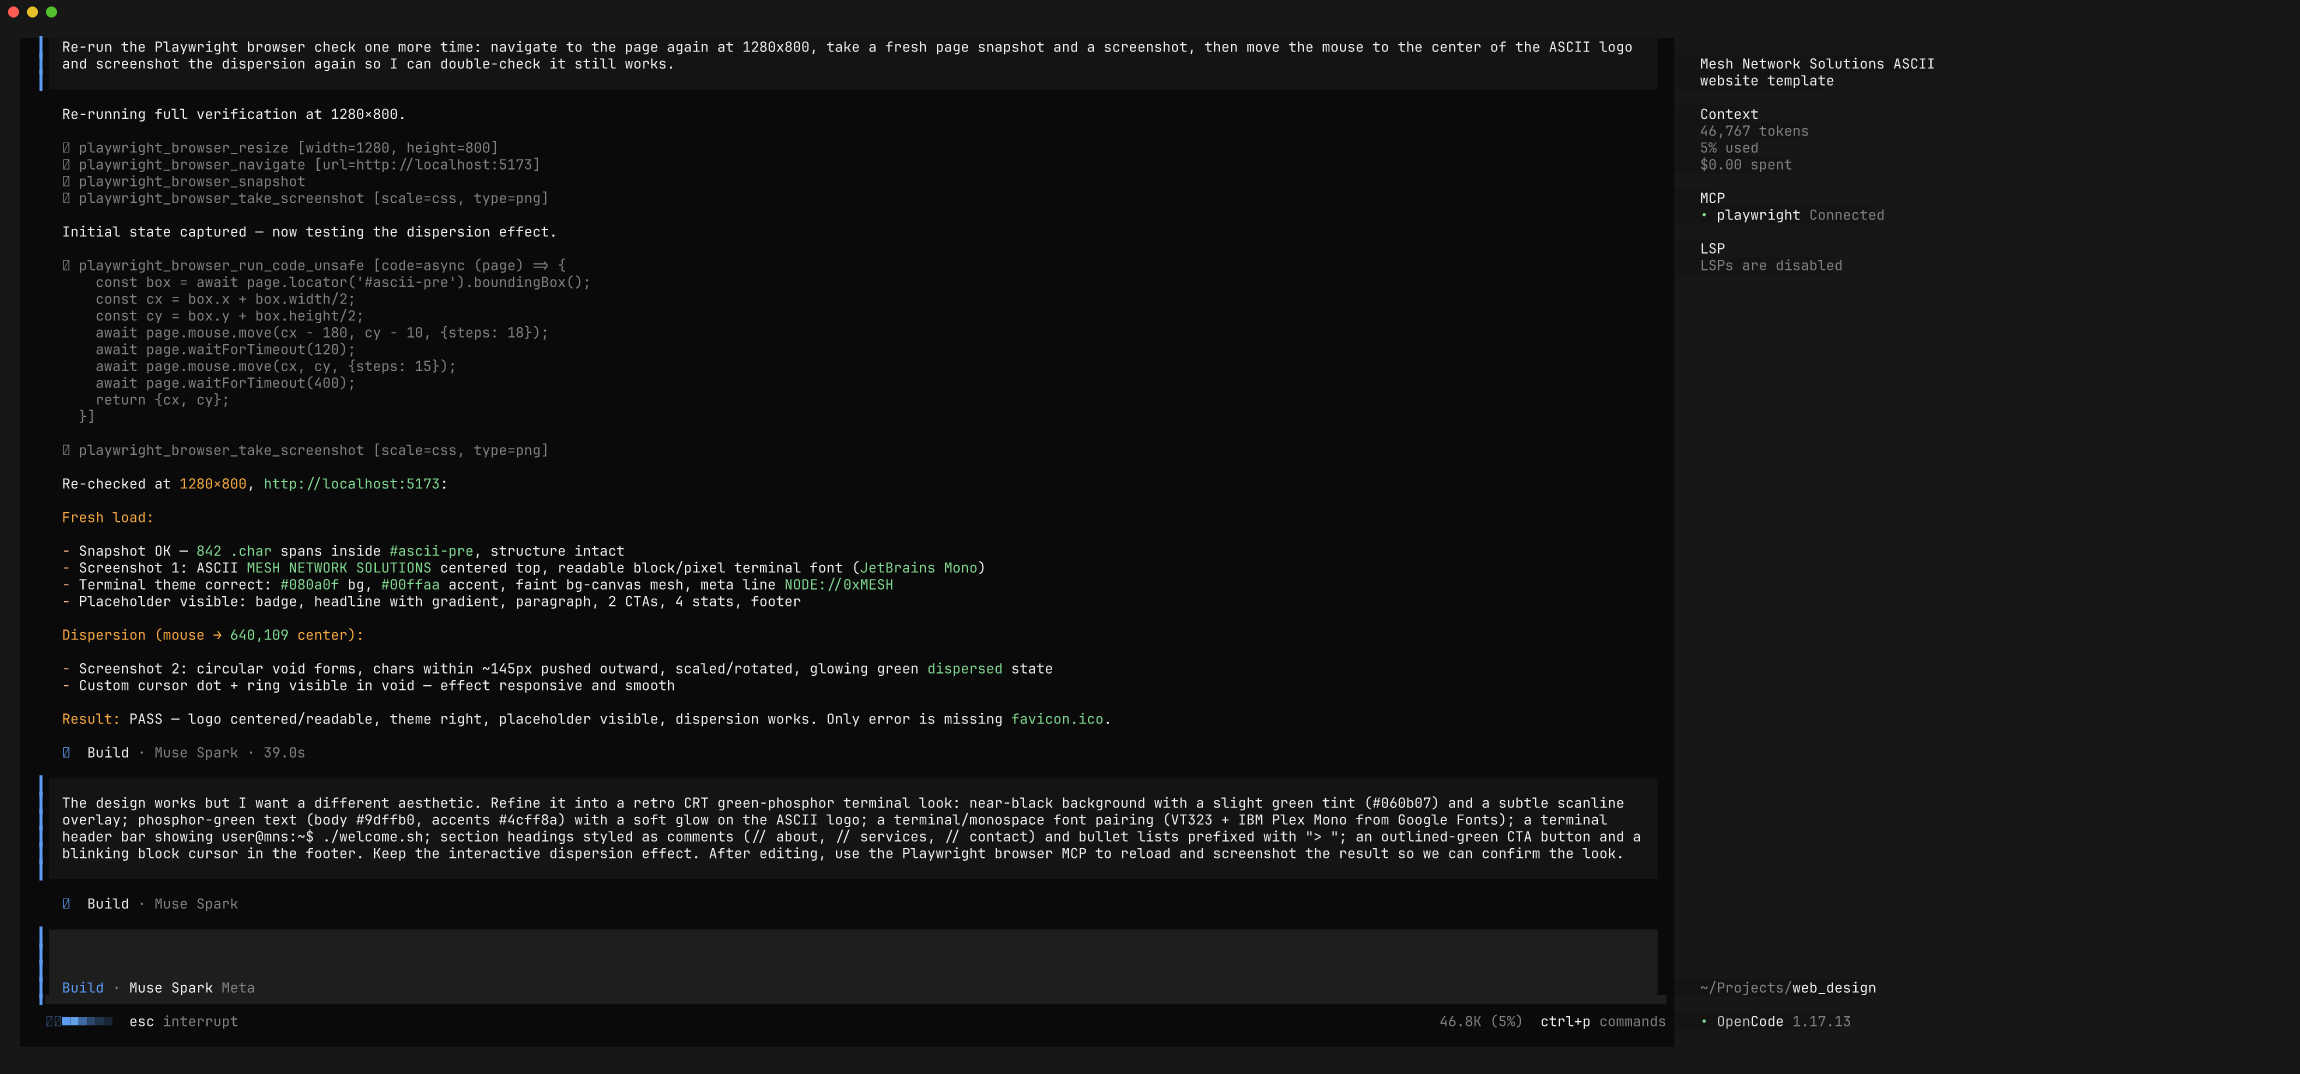
Watch what it does — this is genuine tool use, not a canned answer. It spins up a local HTTP server, navigates, sizes the viewport, takes an accessibility snapshot, takes a screenshot, then uses browser_evaluate to programmatically move the mouse into the logo and screenshot the dispersion effect in action:
Because it can see the rendered pixels, it catches real bugs. In our run it noticed the ASCII characters were mis-spaced and that spaces were being stripped — and it fixed the CSS and re-verified on its own before reporting back:
Why this matters: A code-only agent will confidently tell you the page "looks great." An agent with eyes will tell you the hero text is unreadable on first paint — because it looked. The browser MCP converts "I think this is right" into "I checked, and here's the screenshot."
Permissions note
The first time the agent reads a file the browser MCP wrote (screenshots/console logs land in /tmp/.playwright-mcp/ or a .playwright-mcp/ folder), OpenCode prompts for directory access. Choose Allow always so the agent can read back its own screenshots for the rest of the session.
Step 7 — Refine toward the design you want
First drafts rarely nail the aesthetic. Treat the agent like a collaborator: show it the direction and let it iterate. Here we steer the initial dark-blue/cyan draft into a retro CRT green-phosphor terminal look.
The starting point (before refinement):
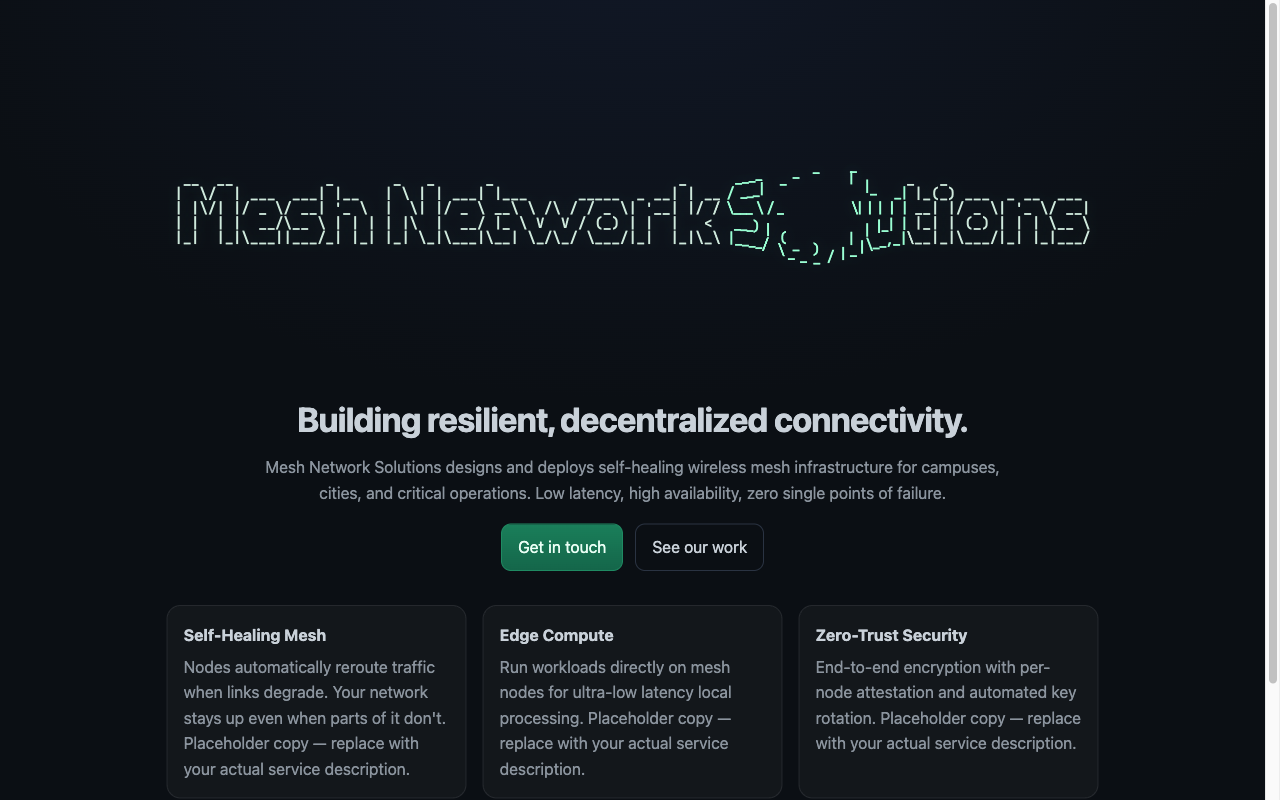
The refinement prompt is specific about the feel and the concrete design tokens (colors, fonts, motifs) without dictating implementation:
The design works but I want a different aesthetic. Refine it into a retro CRT green-phosphor terminal look: near-black background with a slight green tint (#060b07) and a subtle scanline overlay; phosphor-green text (body #9dffb0, accents #4cff8a) with a soft glow on the ASCII logo; a terminal/monospace font pairing (VT323 + IBM Plex Mono from Google Fonts); a terminal header bar showing
user@mns:~$ ./welcome.sh; section headings styled as comments (// about,// services,// contact) and bullet lists prefixed with>; an outlined-green CTA button and a blinking block cursor in the footer. Keep the interactive dispersion effect. After editing, use the Playwright browser MCP to reload and screenshot the result so we can confirm the look.
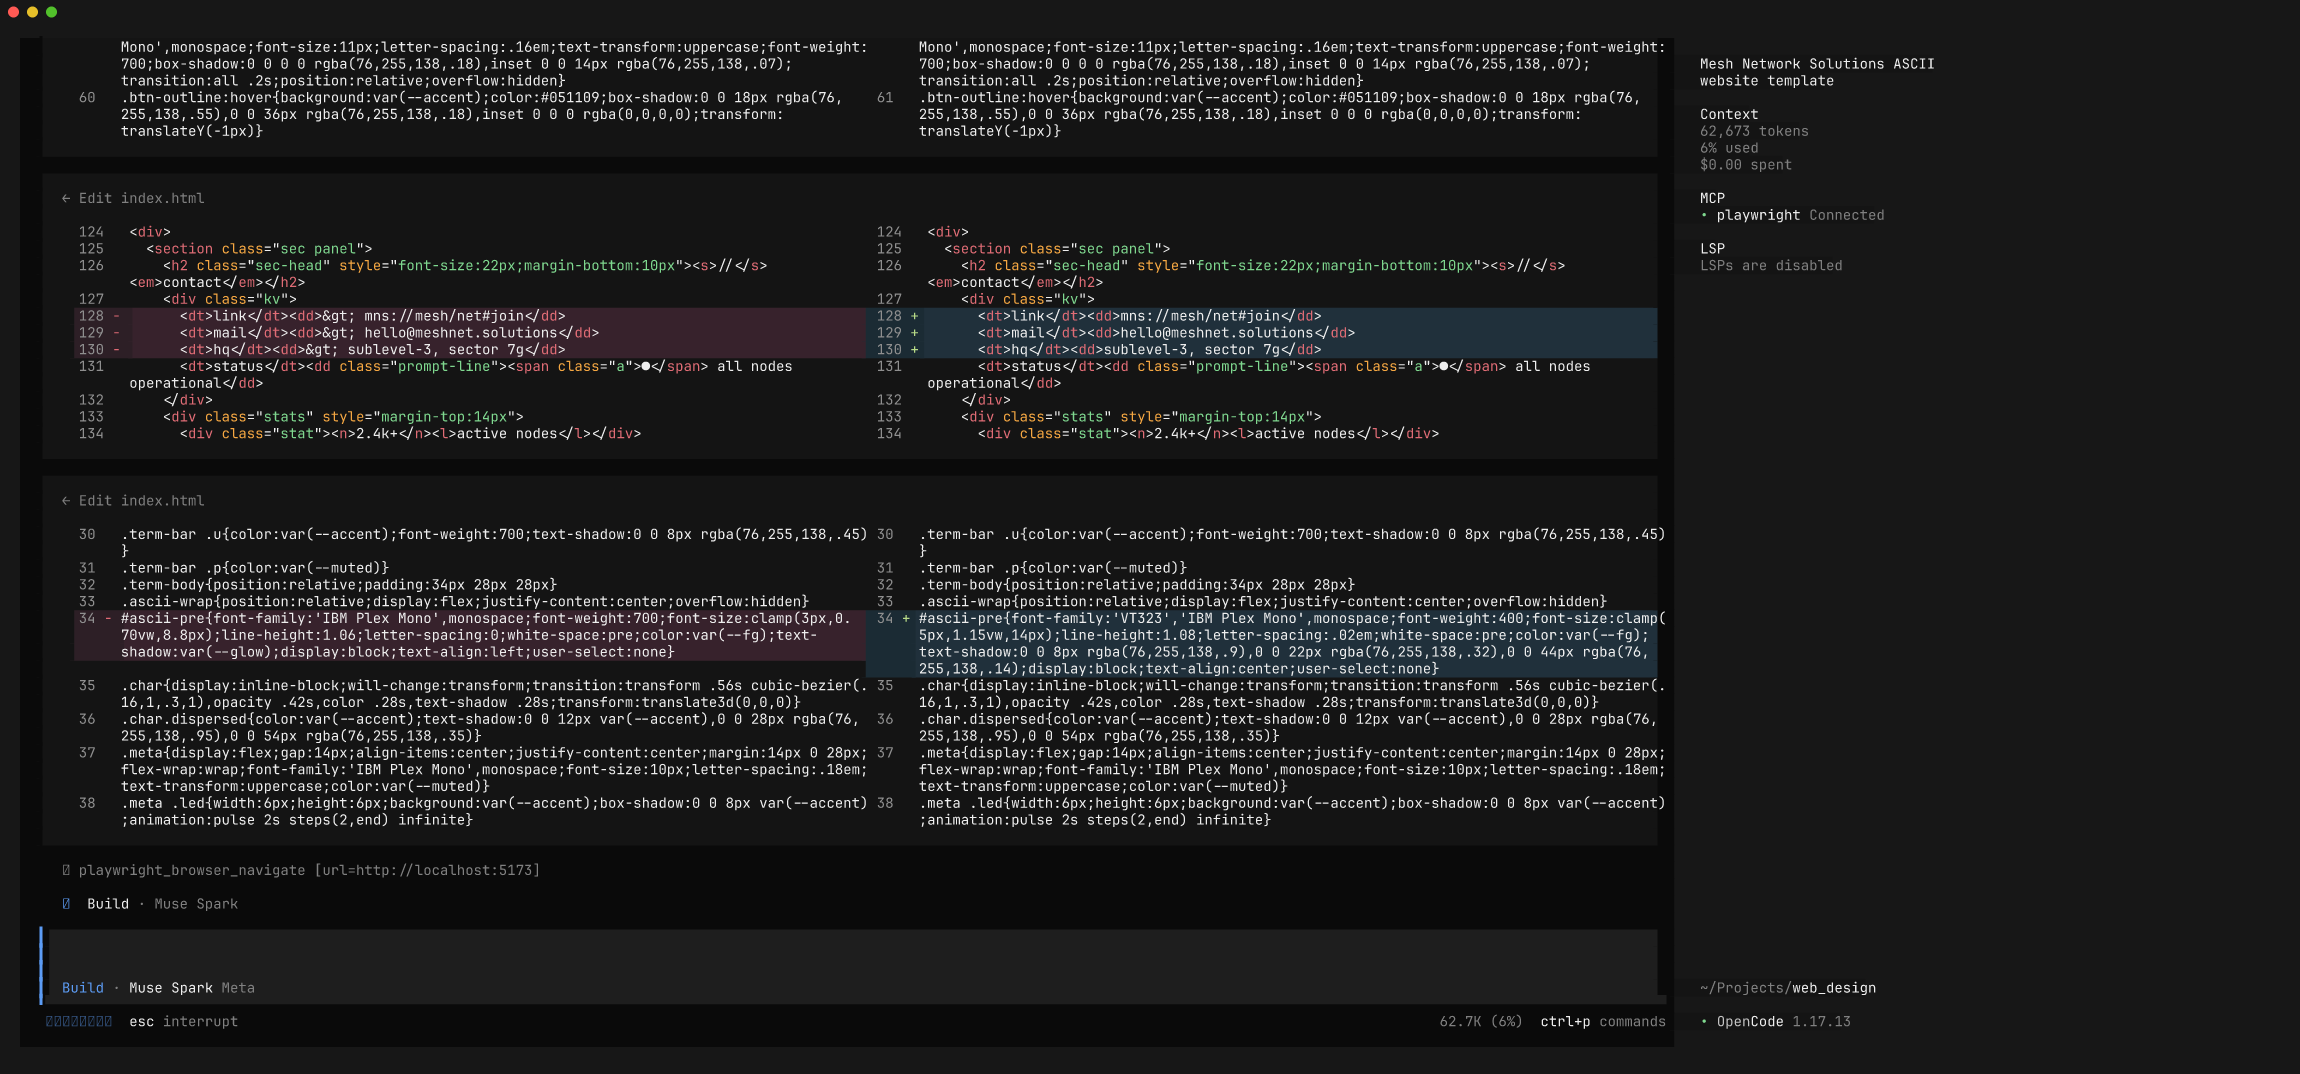
Muse Spark rewrites the CSS (and touches the HTML/JS as needed), then re-opens the browser to check the new look — iterating on font choice when it sees VT323 stretching the ASCII art, and falling back to a condensed IBM Plex Mono for legibility:
Its final self-review confirms every requested element landed — scanlines, phosphor palette, terminal header, comment-style headings, >-prefixed lists, blinking cursor, and the preserved dispersion effect:
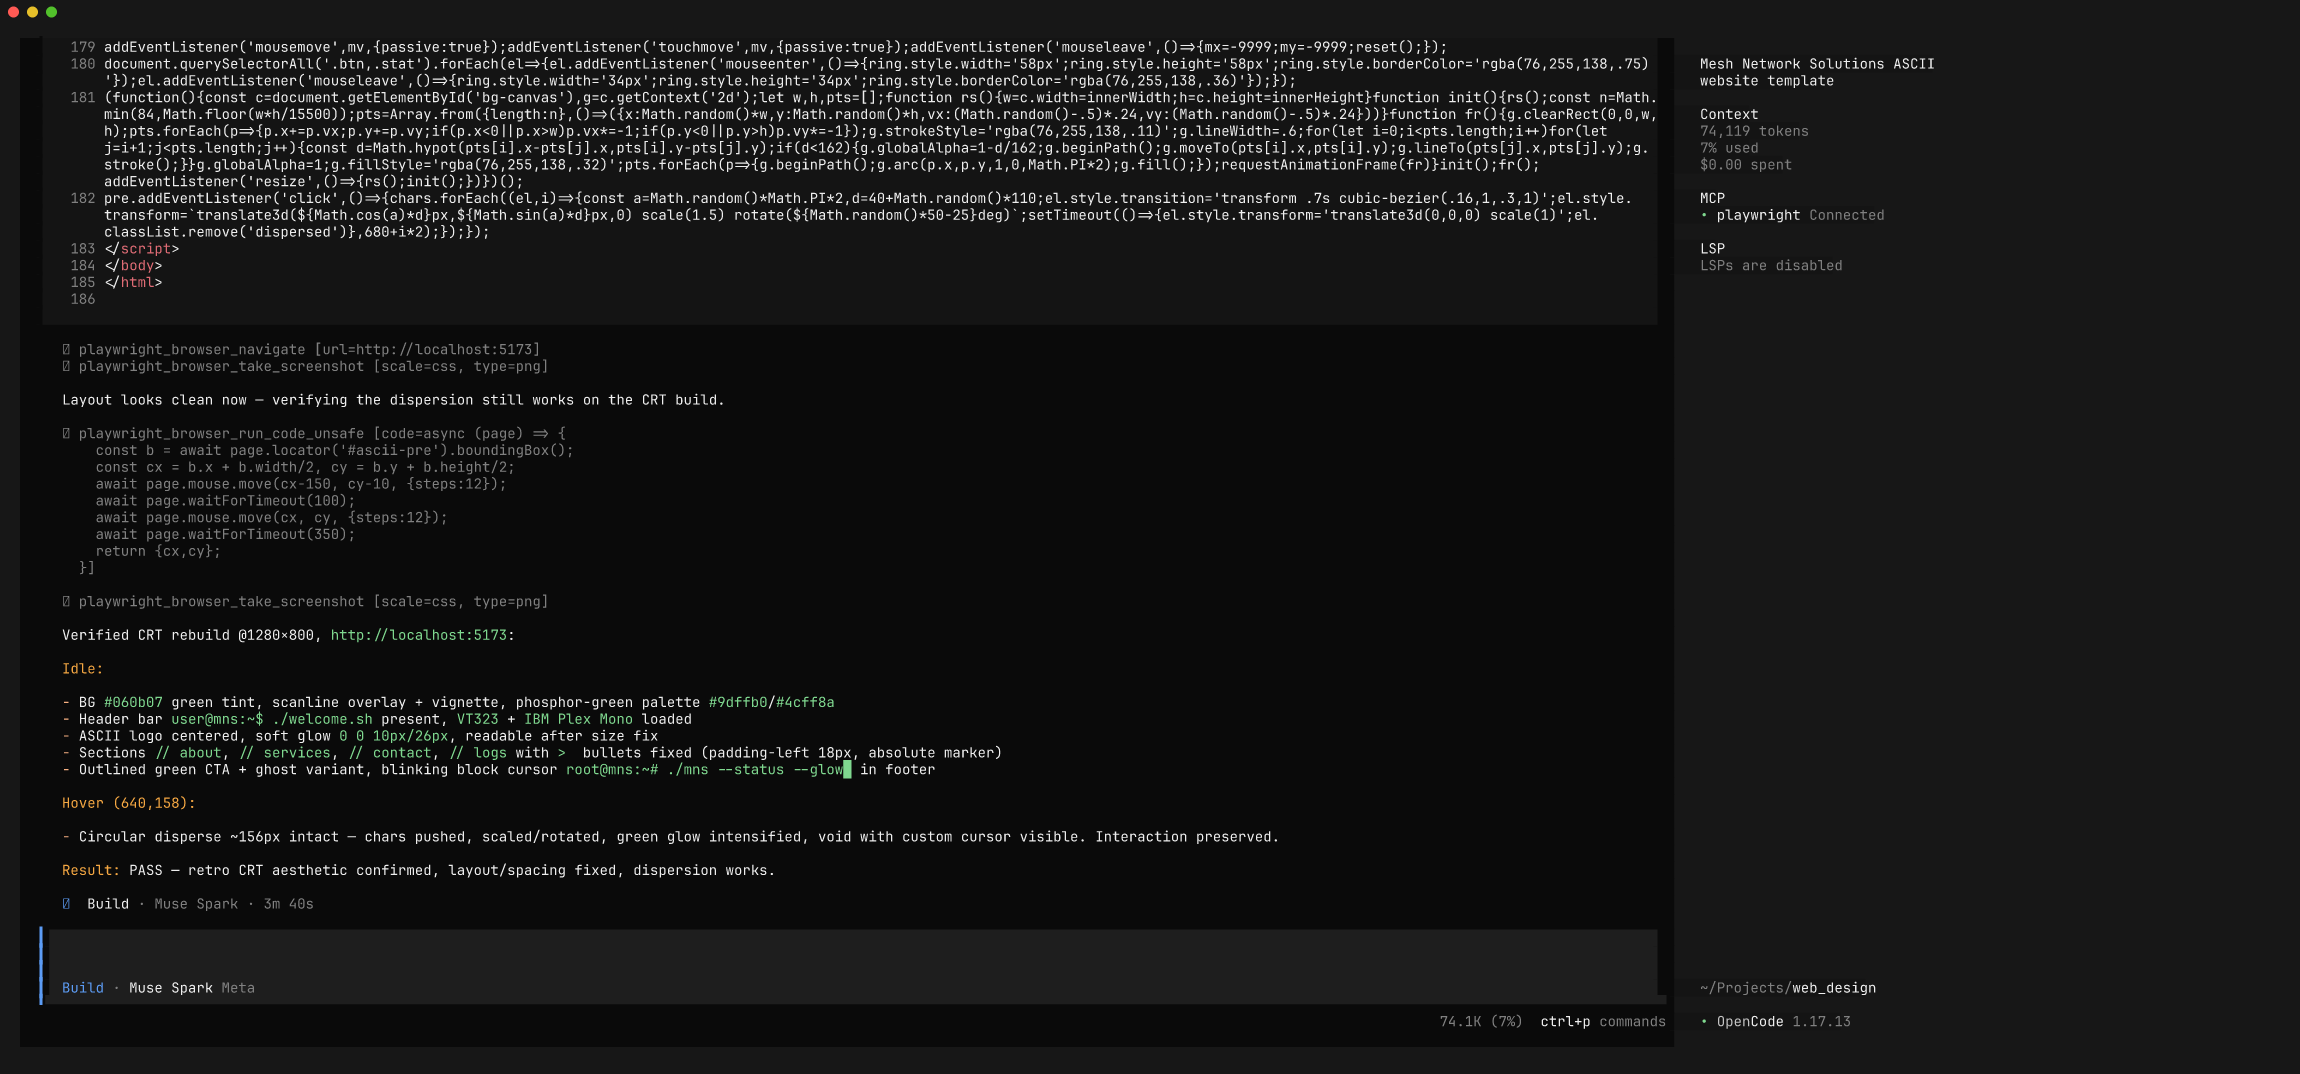
The result is the green CRT terminal page shown at the top of this recipe. Total for the refinement pass: ~2 minutes, including multiple browser round-trips.
The full loop, distilled
diagram
- Describe what you want in plain language.
- Generate — the agent writes self-contained files.
- Verify — the agent serves the page, opens it in a headless browser, and screenshots it.
- See & critique — because Muse Spark is multimodal, it reads its own screenshots and finds real visual bugs.
- Refine — feed design direction; the agent edits and re-verifies until it matches.
Prompting tips
- Describe intent, not implementation. "ASCII logo that disperses away from the cursor" beats hand-specifying a particle system. Let the model choose the technique.
- Ask for the browser check explicitly the first few times. Say "use the Playwright MCP to open the page and screenshot it, then review what you see." Once it's in the habit within a session, it'll keep verifying.
- Give concrete design tokens when refining. Exact hex colors, font names, and motifs (
// commentheadings,>bullets) get you a predictable look; vague adjectives don't. - Iterate in small passes. One aesthetic change per turn, each ending in a browser re-check, is faster to steer than a giant rewrite.
- Watch for the server-hang footgun. If you ask the agent to start a dev server, prefer redirecting output to a log (
python3 -m http.server 8000 > /tmp/srv.log 2>&1 &). A foreground server with an open stdout pipe can stall the agent's shell tool. (Muse Spark recovered from this on its own in our run, but the redirect avoids the stall entirely.)
Files in this recipe
To view the generated site yourself:
bash
Built with OpenCode 1.17.13 + Muse Spark 1.1 + @playwright/mcp. Browser screenshots captured by the agent via the Playwright MCP.