Computer use on macOS with Muse Spark
| Section | Use cases |
| Time to complete | ~15 min |
| Model | muse-spark-1.3 |
| Harness | metacua — a native macOS computer-use CLI (Swift and Python implementations) |
| Prerequisites | macOS 12+, a Meta API key, and either Swift 5.9+ or Python 3.9+; series setup(opens in new tab) |
A Meta Model Cookbook recipe — computer use with an agent that sees your screen, moves the mouse, and works out a native macOS app on its own.
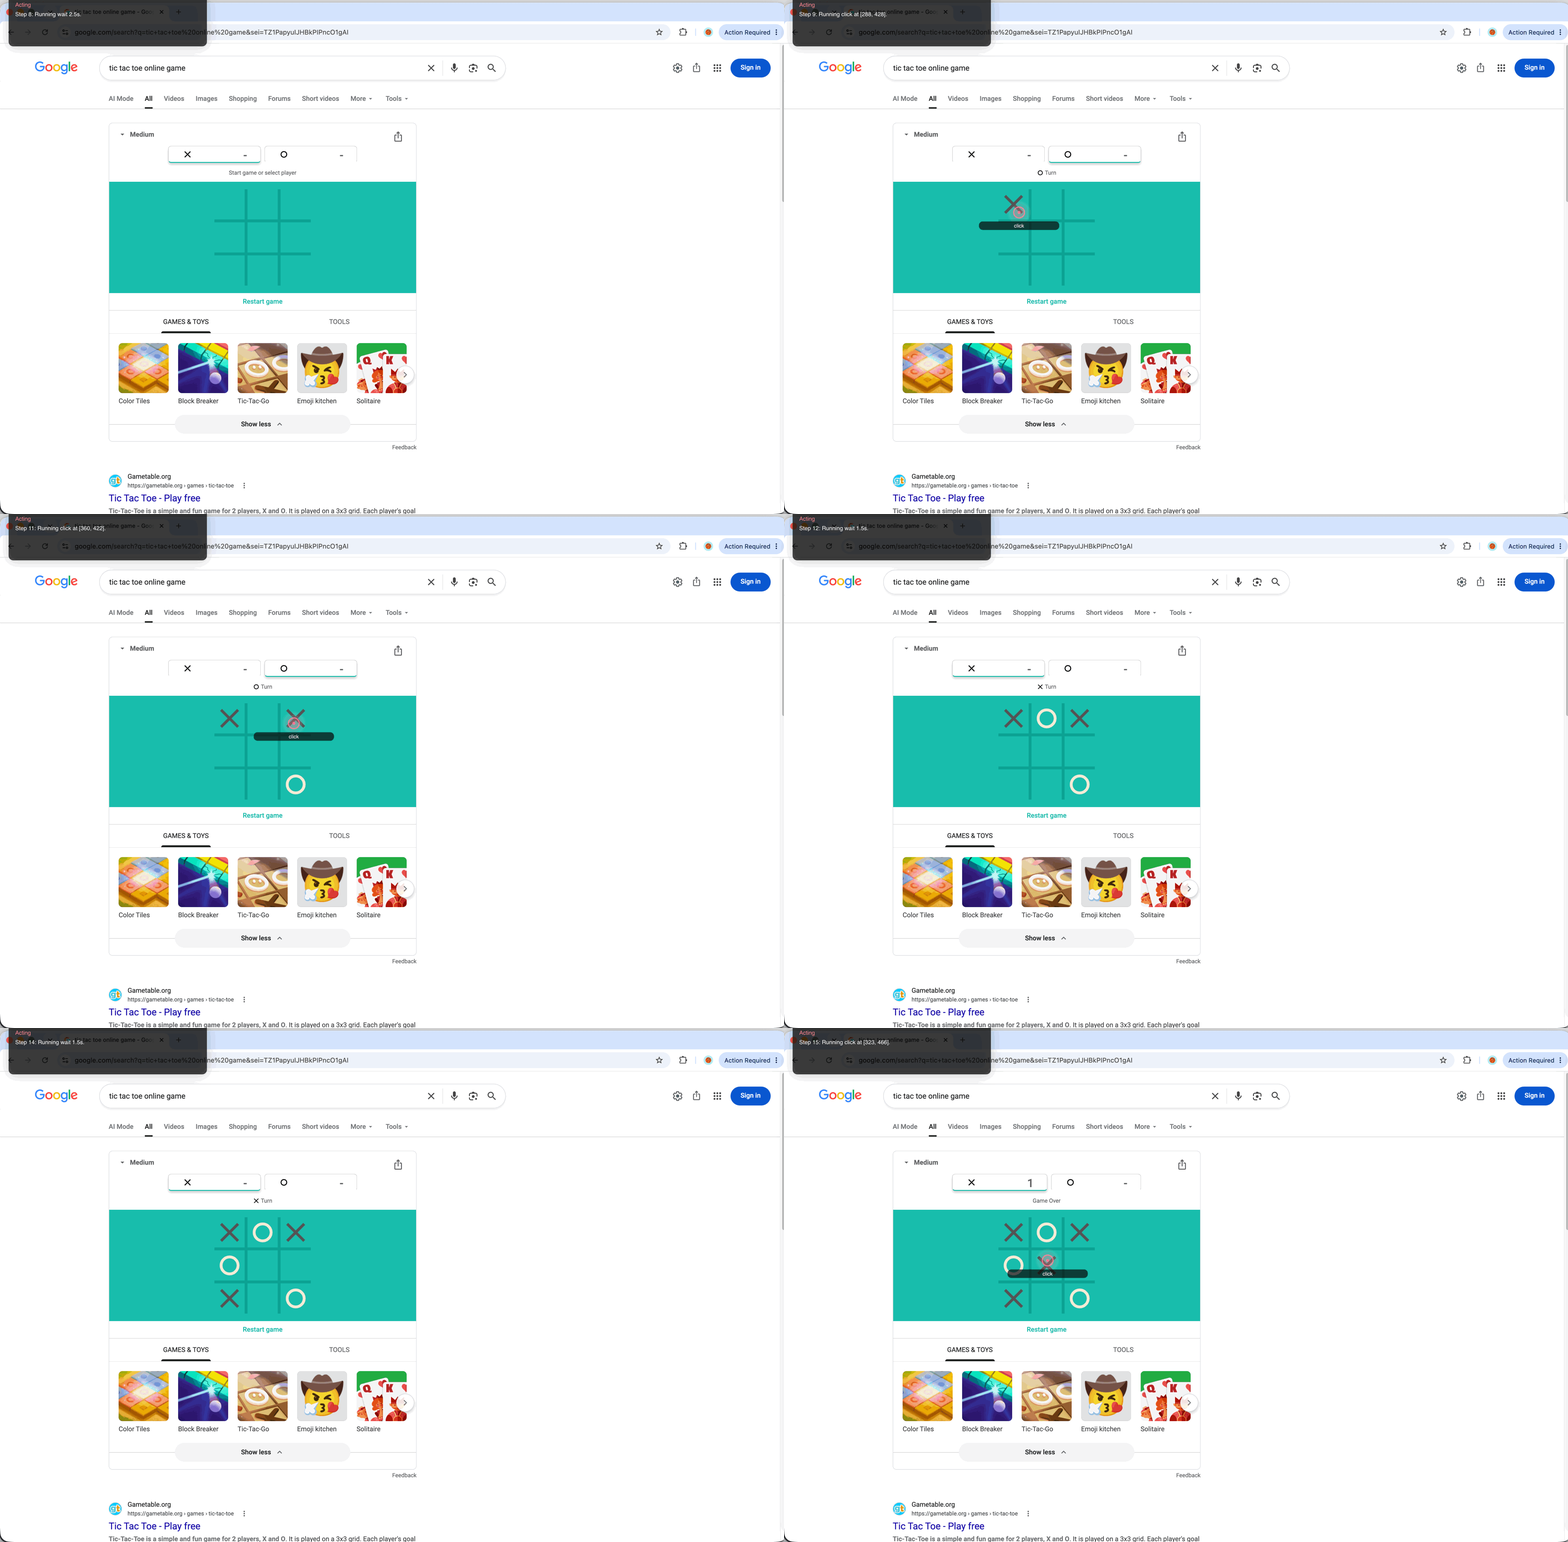
metacua is a hackable command-line agent that lets Muse Spark operate a Mac through its GUI. You give it a goal; it captures the screen, sends the image plus GUI tool definitions to the model, executes the returned tool calls with native macOS mouse and keyboard events, then screenshots again and repeats until the task is done — the same look-act-look loop a person runs.
Unlike the sibling computer use recipe, which drives a throwaway Linux desktop in a Cua sandbox, metacua drives your actual machine. That makes it a faithful example of native computer use, and it makes the safety notes below non-negotiable.
What you'll learn
- How to build a look-act-look computer-use loop against
POST {base}/responses. - How to expose a CUA-guide-aligned
computer.computertool plus a terminalcomputer.stoptool through OpenAI-style function calling. - How coordinate conventions differ: normalized 0-1000 tool coordinates vs. real display pixels vs. fixed 1920x1080 OSWorld pixels.
- How the same agent is built twice — once in Swift (SwiftPM) and once in Python — against the identical Muse Spark contract.
How it works
- Describe the goal in plain language.
- See — the agent captures a screenshot of the primary display.
- Send — the screenshot and tool definitions go to Muse Spark at
POST {base}/responses. - Act — the model returns a
computer.computertool call; the agent executes it with native macOS events (Quartz / AppKit / Accessibility). - Look again — it screenshots the new state and reacts.
- Repeat until the model calls
computer.stopwith a final answer, or the step cap is hit.
The model never runs code on your machine on its own. It sees PNG screenshots and returns mouse and keyboard actions, which the agent translates into synthetic events.
Canonical configuration
This recipe uses the same setup as every other cookbook recipe:
| Setting | Value |
|---|---|
| Base URL | https://api.meta.ai/v1 |
| Model | muse-spark-1.3 |
| API key env var | MODEL_API_KEY (format LLM|{numeric_id}|{secret}) |
The agent posts to {base}/responses (the Responses API) with parallel_tool_calls: false and store: false, so computer actions stay serial and stateful.
Tools
metacua advertises two model-facing tools, using the same dotted names as the Muse Spark reference agent. Tool calls run one at a time.
| Tool | Description |
|---|---|
computer.computer | Perform GUI action(s) via synthetic mouse, keyboard, and screen events, then return a fresh screenshot. Coordinates are normalized integers in 0...1000, origin top-left. |
computer.stop | End the session and submit a final answer describing what was accomplished, or why it could not proceed safely. |
bash | Python only, opt-in (--allow-bash) — run bounded shell commands on the Mac. Leave off unless you are isolated. |
computer.computer mirrors Anthropic's computer_20251124 interface (clicks, drag, mouse_move, scroll, key, type, hold_key/release_key, wait, screenshot), except coordinates are normalized to 0...1000 and mapped to primary-display pixels before execution. Pass --batched-actions to advertise an actions array instead; the batch is validated up front, executed in order, and returns a single screenshot at the end.
The Python implementation additionally supports an OSWorld pyautogui mode (--syntax pyautogui): the model returns pyautogui calls as text, which metacua parses with ast and never execs.
Run it
Both implementations read the same config (flags → environment → ~/.metacua/config.json → defaults) and require macOS Accessibility and Screen Recording permissions for the terminal that launches them.
Swift
sh
Or run a single goal:
sh
Full build, flags, and interactive commands are in metacua.md(opens in new tab).
Python
sh
Full options, OSWorld mode, and the API request shape are in python/README.md(opens in new tab).
Coordinate conventions
Agent mode defaults to Muse Spark's normalized 0-1000 convention: (0, 0) is the top-left of the primary display and (1000, 1000) is the bottom-right. The agent converts to primary-display pixels before executing. Screenshots may be downscaled (--screenshot-scale), but the action coordinate space always uses the display's full logical size. Scroll direction is normalized from the user's point of view: down reveals lower content regardless of the macOS natural-scrolling preference.
Files in this recipe
Prompting tips
- Give a goal, not a script. A concrete objective surfaces real problem-solving.
- Let it screenshot after every action. The loop reacts to the real screen state instead of stacking blind clicks on a stale picture.
- Keep goals narrow and reversible, especially while you are getting a feel for it.
- The
typeaction does not submit — follow it with akeyaction (Return) when needed.