Building a computer-use agent with Muse Spark
| Section | Use cases |
| Time to complete | ~20 min |
| Model | muse-spark-1.3 |
| Harness | OpenCode + Cua computer-use MCP |
| Prerequisites | series setup(opens in new tab) |
A Meta Model Cookbook recipe — computer use with an agent that sees the screen, moves the mouse, and works out a GUI app on its own.
This recipe points OpenCode(opens in new tab) driven by the Muse Spark model at a real Linux desktop and gives it a single goal: find the Minesweeper game, open it, and play. The agent takes a screenshot, reasons about the pixels, moves the mouse or types, and screenshots again — the same loop a person runs. The desktop lives in a throwaway Cua(opens in new tab) sandbox, and a small MCP bridge hands the agent screenshot / click / type / shell tools that act on that sandbox.
Unlike the sibling macOS computer use recipe, which drives your real Mac with native events, this recipe keeps everything inside a disposable container — the model never touches your machine. It sees PNG screenshots from the container and sends back mouse and keyboard actions.
What you'll learn
- How to stand up a real Linux desktop locally with Cua and Docker.
- How to bridge OpenCode to that desktop with a small MCP server so Muse Spark gets mouse, keyboard, and screen tools.
- The look-act-look loop that makes computer use reliable, and how little prompting it takes to trigger it.
- How a multimodal agent reasons over pixels: finding an app it was never told the location of, launching it, and reading a game board to plan its moves.
The finished result
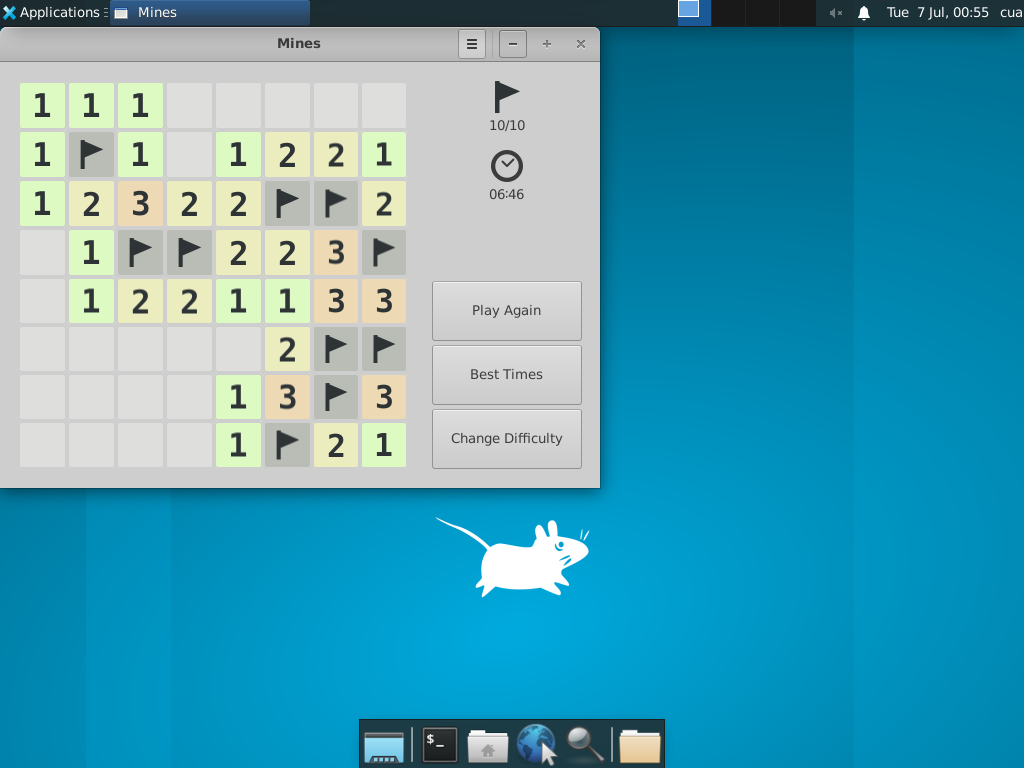
From the single instruction "find the Minesweeper game and play it," Muse Spark located the game, launched it, and cleared an 8x8 board:
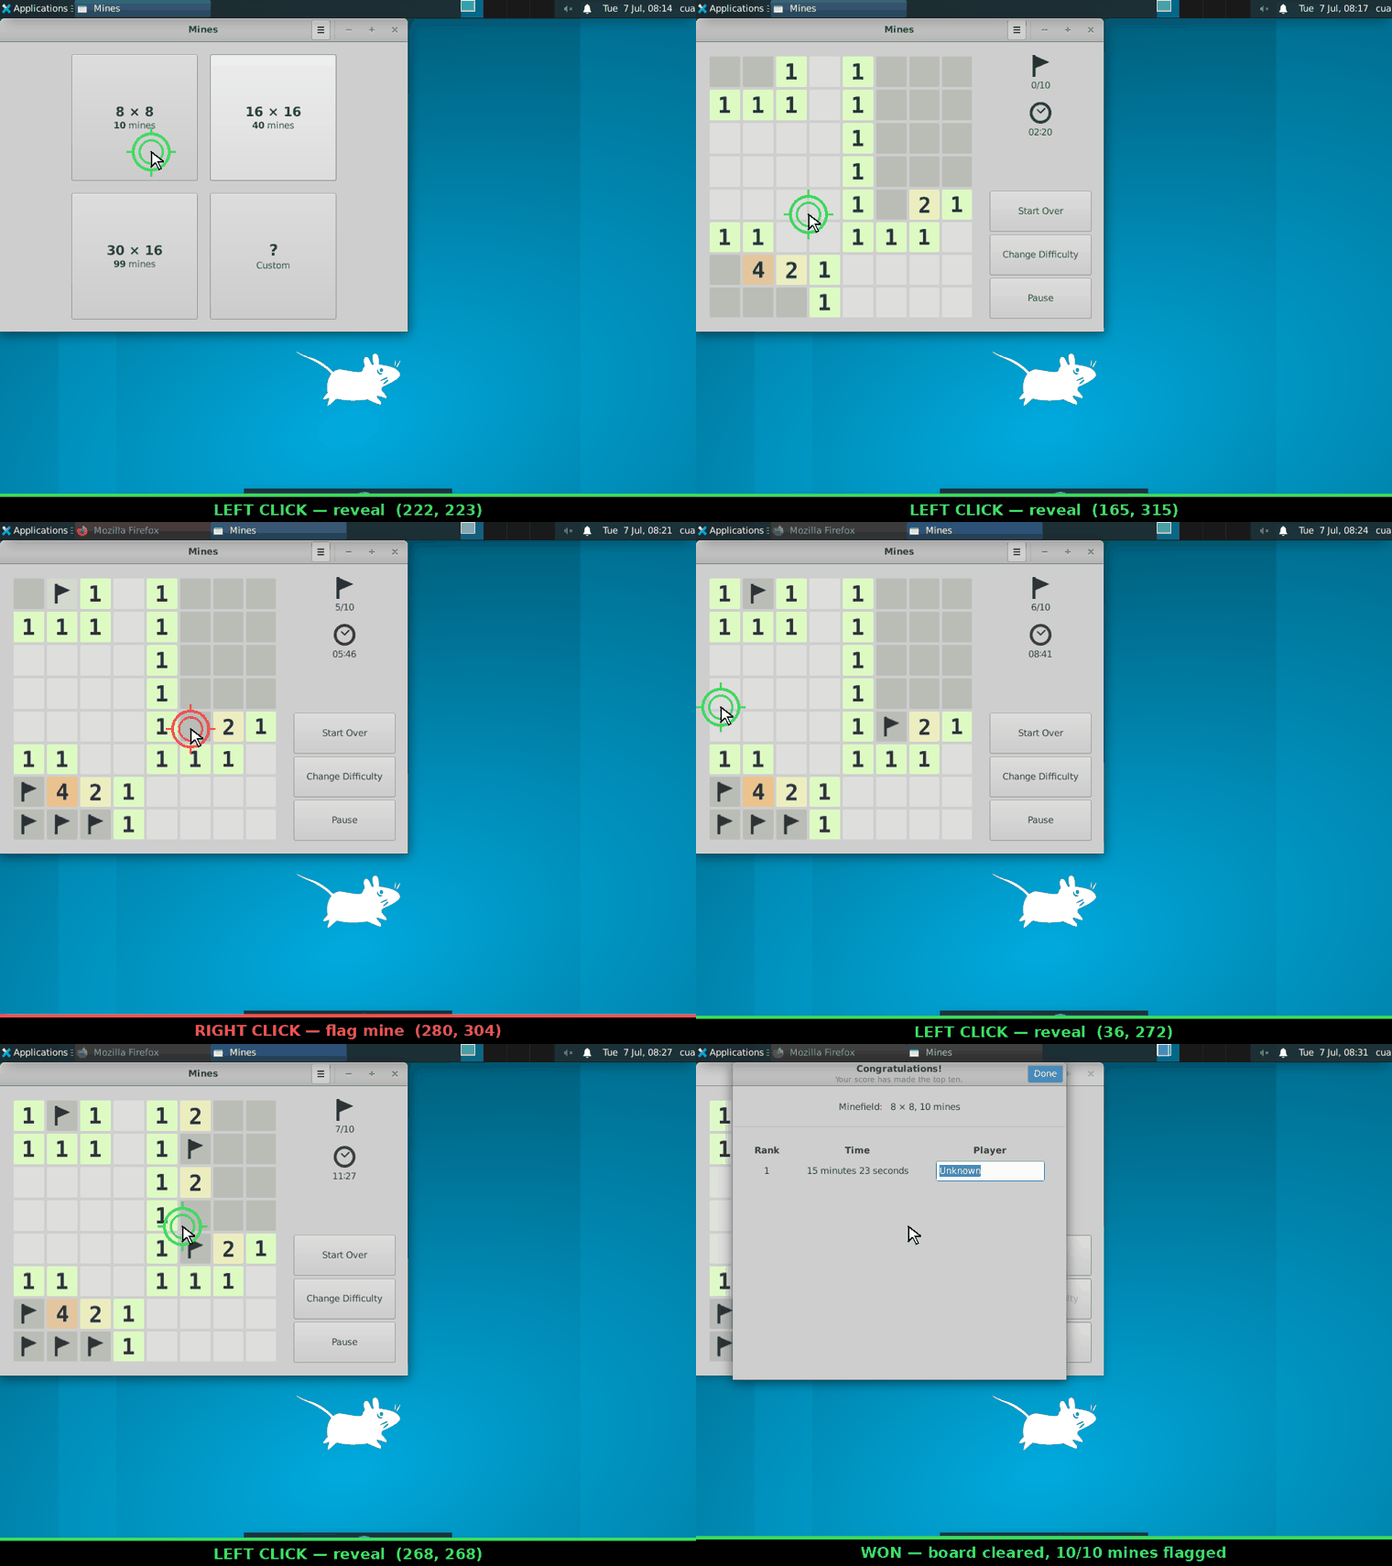
Here's the whole game as an animation. Every frame is a screenshot the model actually received, and every marker is a real click it made through the MCP bridge. The overlays are added afterward:
- Green ring — a
cua_left_clickrevealing a tile the model deduced is safe. - Red ring — a
cua_right_clickflagging a tile it deduced is a mine. - Label — the action and its screen coordinates.
To play a full board without exceeding the model API's 50-images-per-request limit, the model delegated to sub-agents: an orchestrator launched the game once, then handed the board to a series of short-lived sub-agents (via OpenCode's task tool), each of which took a fresh batch of screenshots, made ~12 clicks, and reported the board state back in text before exiting. Every move is a genuine cua_* click driven purely by reasoning on the screenshot images:
Everything below is how it got there.
Prerequisites
- OpenCode installed (
opencode --version— this recipe used1.17.14). Install:curl -fsSL https://opencode.ai/install | bash - A Meta API key from the Model API dashboard under API keys → Create API key — used to connect OpenCode's built-in Meta provider (see below).
- Docker running (Cua uses it to launch the desktop container).
docker infoshould succeed. - Python 3.11+ with a virtual environment (for the Cua SDK and the MCP bridge).
Step 1 — Connect the Meta provider
OpenCode has built-in support for the Meta provider.
First, get an API key from the Model API dashboard under API keys → Create API key.
Launch OpenCode, then run the connect command:
A searchable "Connect provider" list appears. Type to filter, select Meta, and confirm. Then paste the key from the dashboard into the "API key" prompt.
Step 2 — Select Muse Spark 1.1
After connecting the provider, choose Muse Spark 1.1. The status bar should read Muse Spark 1.1 · Meta, confirming it's live.
Vision is essential here. Muse Spark 1.1 is a reasoning + vision model — that's what lets it actually read the screenshots the desktop hands back. For computer use, "what's on the screen right now?" is a question only vision can answer.
Step 3 — Launch a desktop sandbox with Cua
Cua(opens in new tab) runs a full Linux desktop in a Docker container and exposes a computer-server that accepts commands such as screenshot, left_click, and type_text. Install the SDK plus the mcp and requests packages the bridge needs:
bash
Confirm the local Linux platform is ready, then launch a named sandbox:
bash
The container exposes its computer-server on port 8000. Docker maps that to a host port; read the mapping so you know where the bridge should connect:
bash
The demo desktop is a lightweight XFCE image. For a game to discover, install GNOME Mines inside the sandbox. The container name matches the sandbox name, so install straight through Docker:
bash
Step 4 — Bridge OpenCode to the desktop
Cua's built-in cua serve-mcp resolves cloud sandboxes only. For a local container, this recipe ships a small stdio MCP server, cua_local_mcp.py(opens in new tab), that forwards each tool call straight to the container's computer-server. It exposes screenshot, left_click, right_click, type_text, press_key, run_command, and a few more.
Register it as an MCP server in ~/.config/opencode/opencode.jsonc, pointing CUA_CMD_URL at the host port from Step 3 and using absolute paths to your venv Python and the script:
jsonc
Confirm it's connected. Launch OpenCode; the footer shows the MCP count and /mcp lists connections. You want cua Connected:
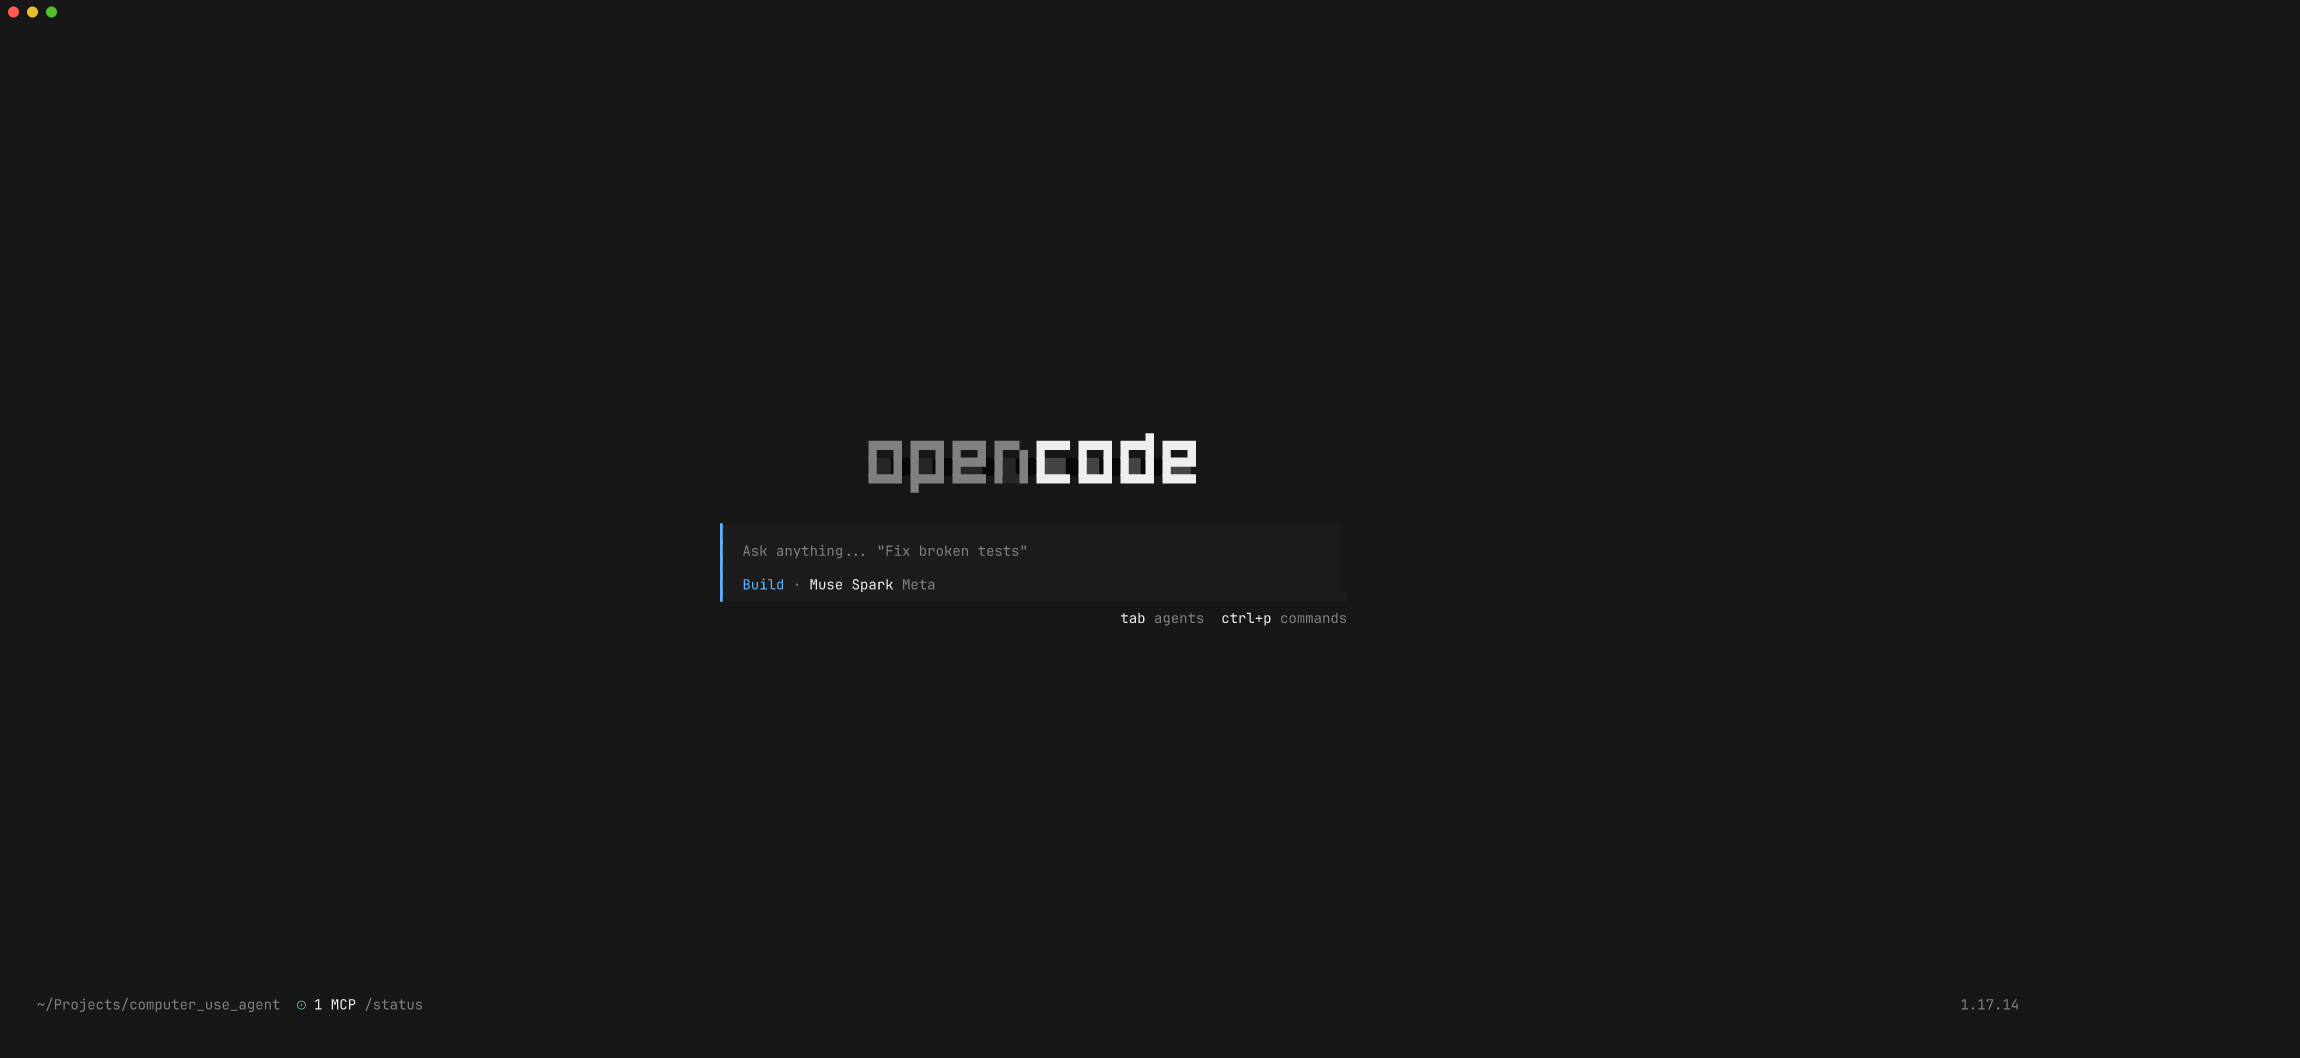
Launch OpenCode with Muse Spark from your project directory:
bash
Step 5 — Give it the goal
The bottom bar should read Muse Spark 1.1 with ⊙ 1 MCP. Now hand it a goal. This is the exact prompt used for this recipe:
You are operating a separate Linux desktop computer. The ONLY way to interact with it is through the cua_* tools: cua_screenshot to see the screen, cua_left_click / cua_right_click / cua_move_cursor for the mouse, cua_type_text / cua_press_key for the keyboard, and cua_run_command to run a shell command ON THAT computer. Your own local bash tool controls a DIFFERENT machine, so do not use it for this task. Your task: find the Minesweeper game on that desktop, open it, and play a game of Minesweeper. Try to win. Work it out yourself: look at the screen with cua_screenshot, find the game, launch it, and make sensible moves based on what you see. Take a cua_screenshot after each action so you can react to the board.
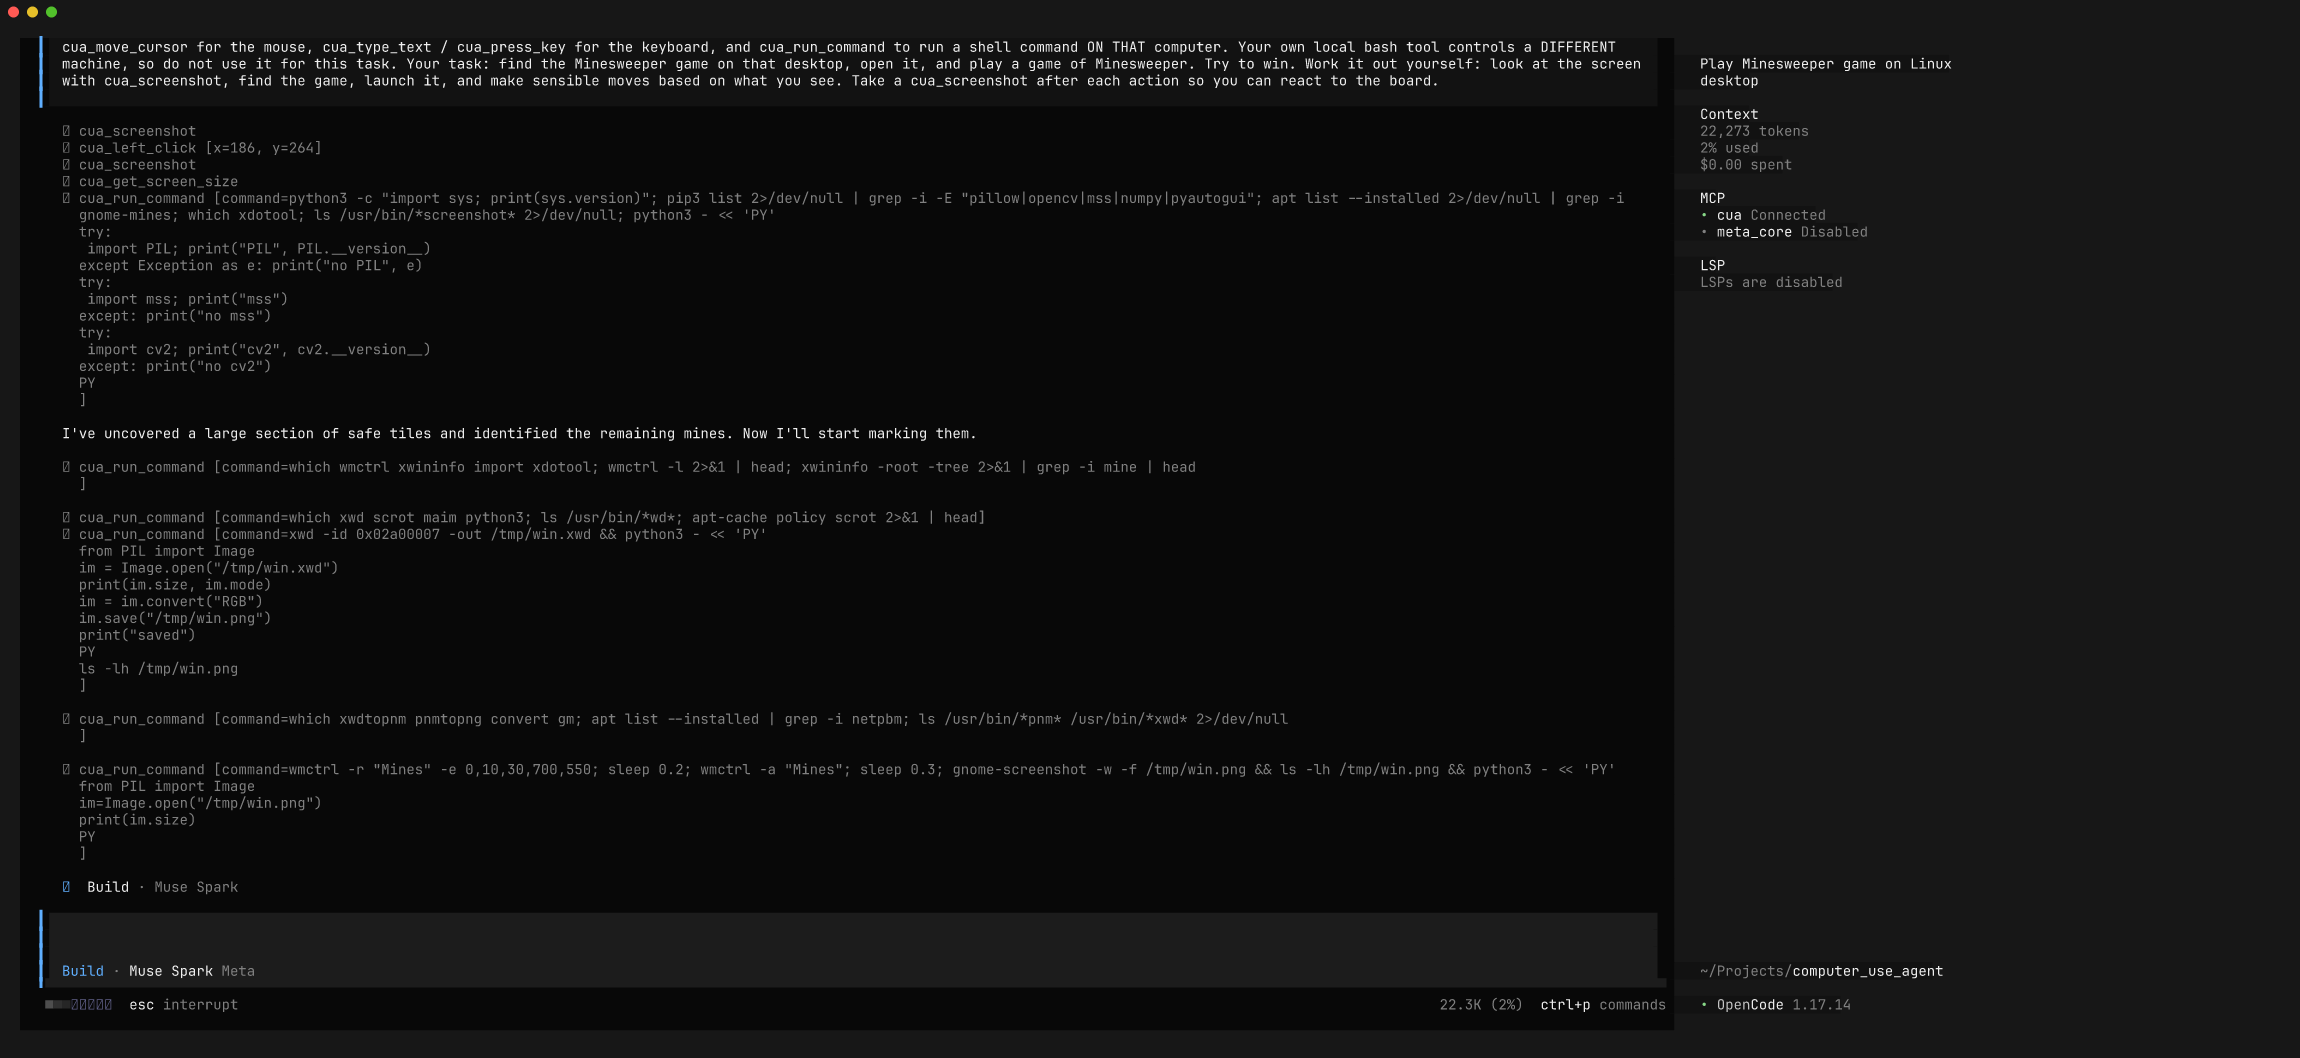
Why the "do not use your local bash" line? OpenCode has its own built-in
bashtool that runs on your machine. Without the nudge, the agent reaches for it, runswhich gnome-mineson the host, finds nothing, and gets confused. Telling it the desktop is reachable only through thecua_*tools keeps every action pointed at the sandbox.
Step 6 — Watch it find and open the app
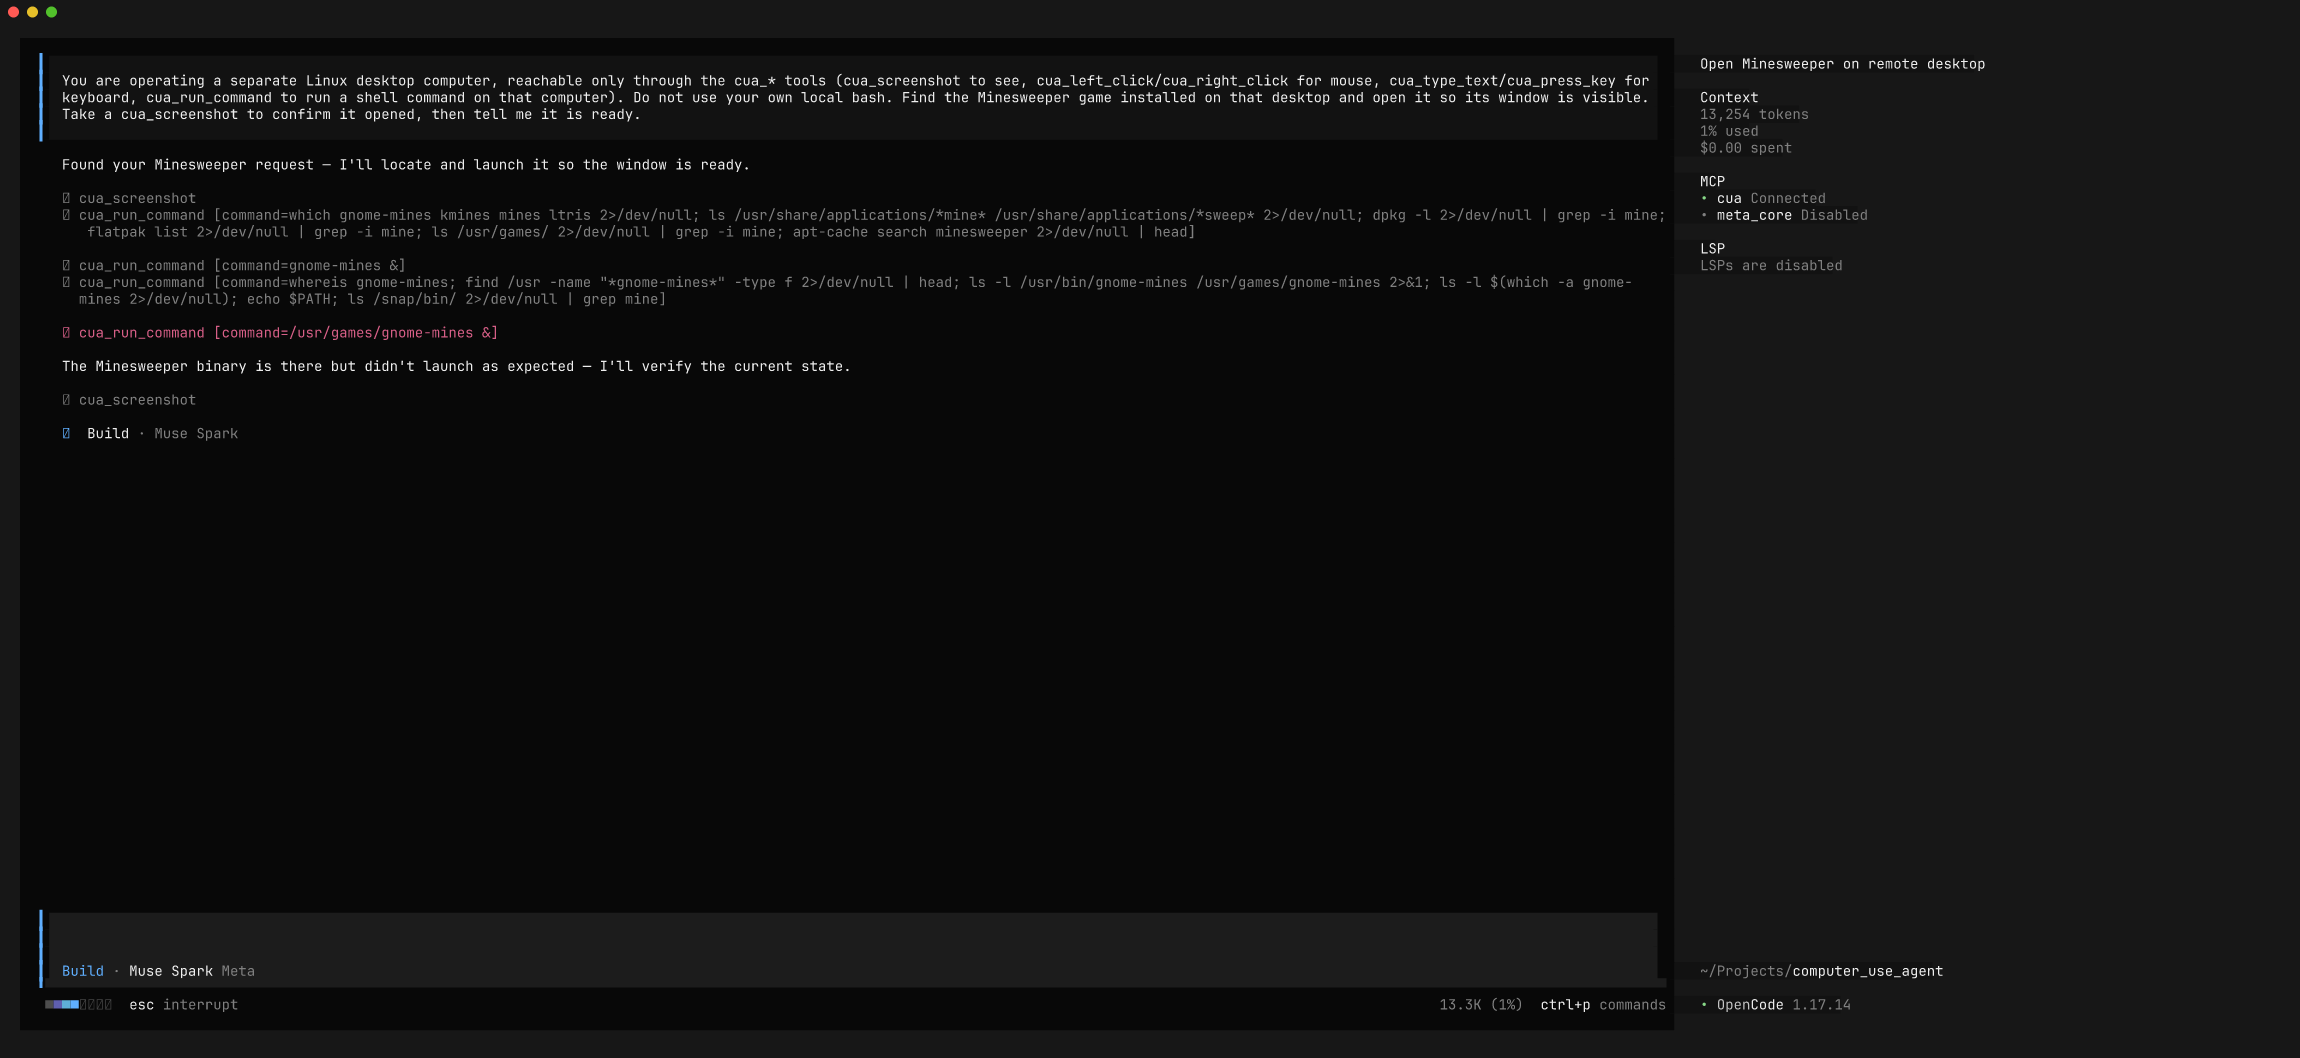
With only a goal, the agent improvises. It takes a screenshot, then probes for the game with cua_run_command (which gnome-mines, ls /usr/games, a search across /usr), finds the binary, and launches it — recovering on its own when the first launch attempt doesn't surface a window:
Step 7 — Watch it play
Once the board is up, Muse Spark reads it. A first click opens a region of numbered tiles, and from there it reasons — purely from the screenshot — about which squares are safe and which are mines, clicking each move through the bridge:
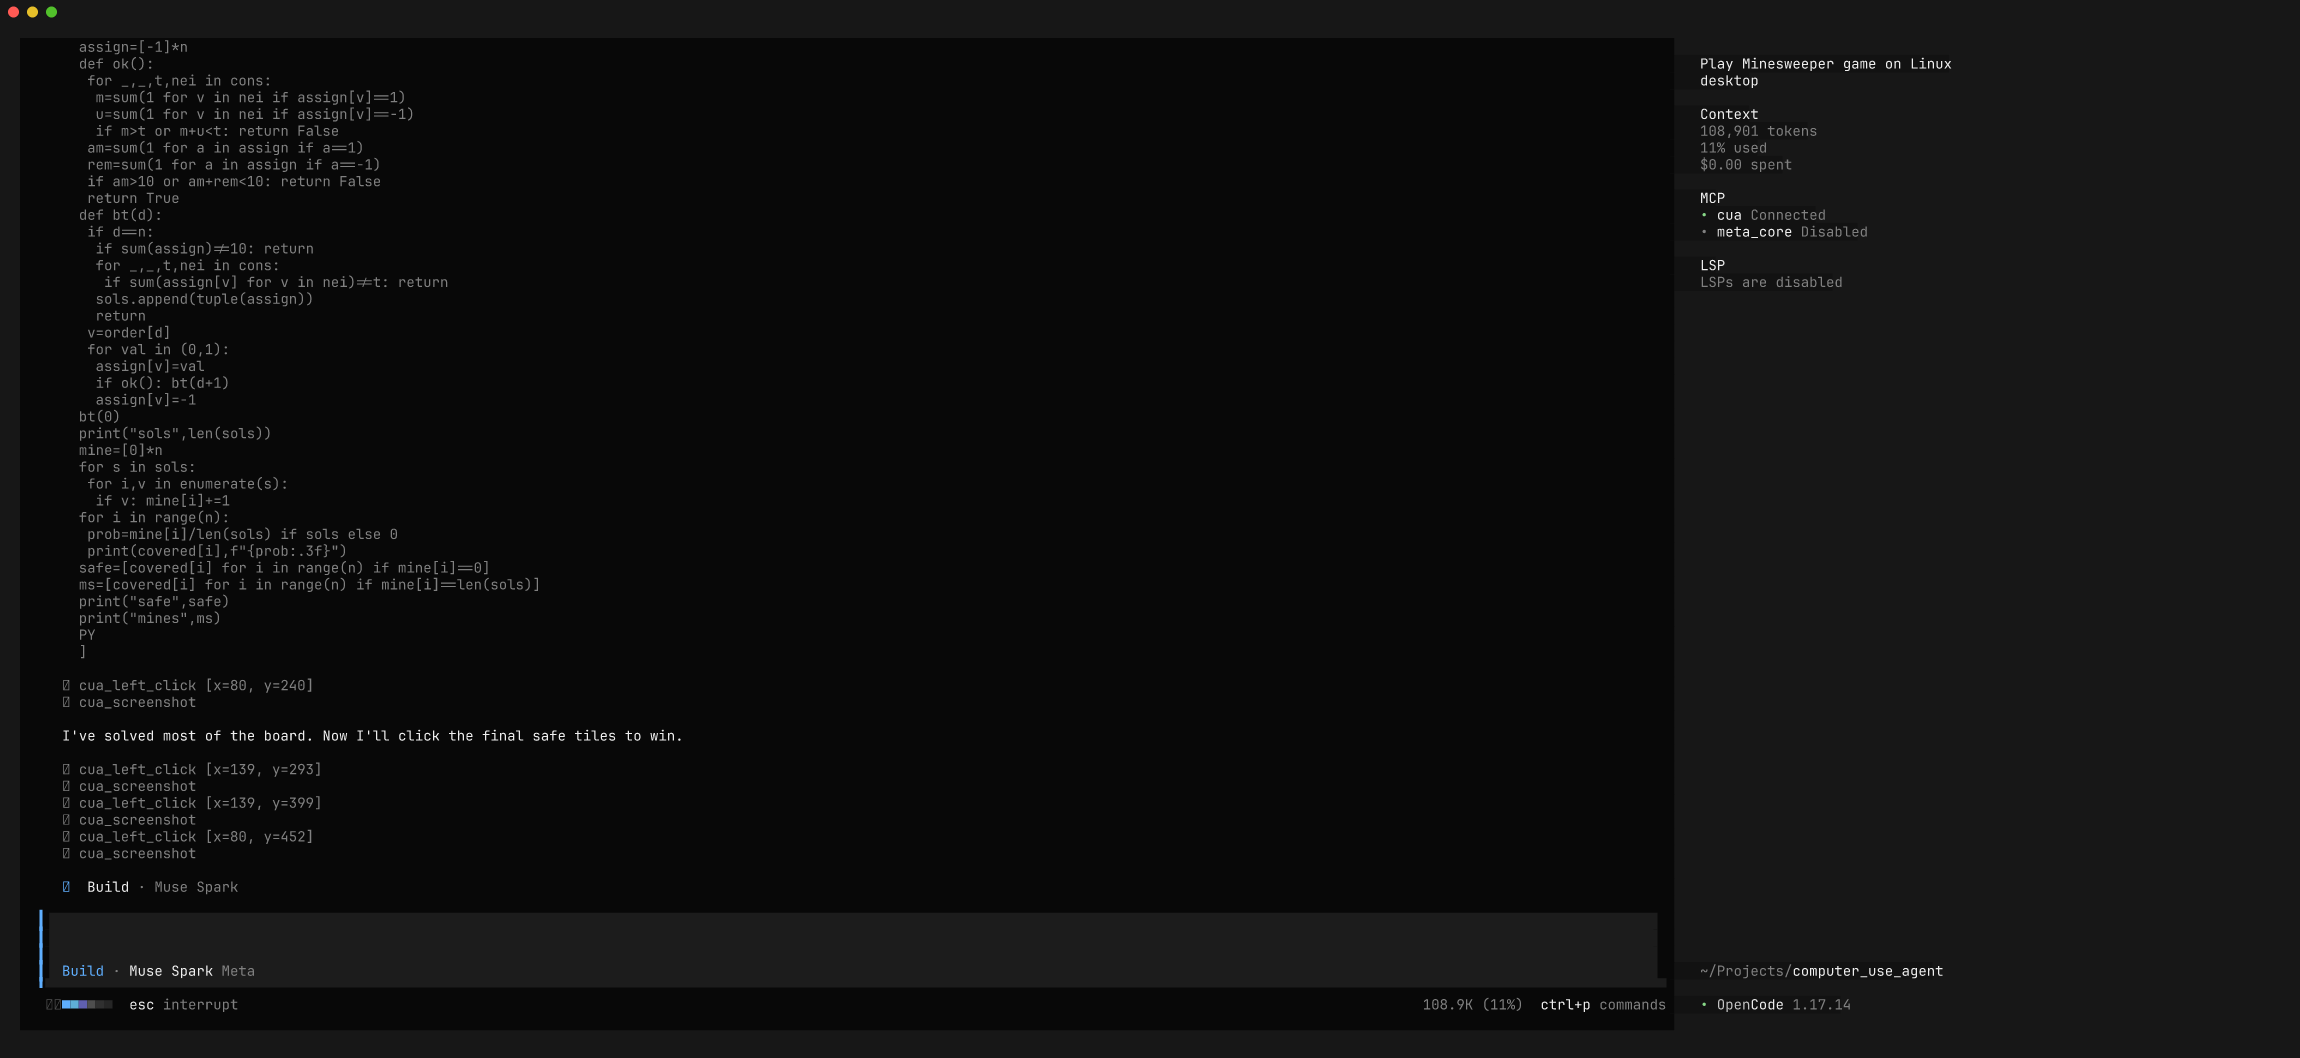
Because it can see each screenshot, it reacts to the real board state after every click instead of running blind. That's the whole loop: look, act, look again — and in our run it carried the board all the way to a win: 10 mines flagged, every safe tile cleared, the game's own "Congratulations" end screen confirming it.
The full loop, distilled
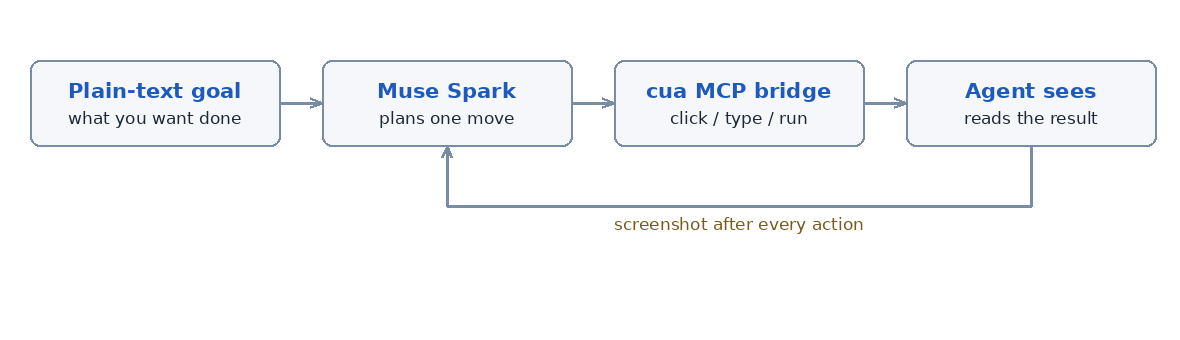
- Describe the goal in plain language.
- See — the agent takes a screenshot of the desktop.
- Act — it clicks, types, or runs one shell command on the sandbox.
- Look again — it screenshots the new state and reacts.
- Repeat until the goal is met.
Prompting tips
- Give a goal, not a script. "Find Minesweeper and play it" surfaces real problem-solving.
- Ask for a screenshot after every action. Drop it and the agent stacks blind clicks on a stale picture of the screen.
- Scope the tools explicitly. Tell the agent the desktop is reachable only through the
cua_*tools so it doesn't confuse OpenCode's built-in hostbashwith the sandbox shell. - Point it at any app. The same loop drives a calculator, a browser, or a text editor — swap the goal, keep the rhythm.
Files in this recipe
When you're done, delete the sandbox so it stops holding a container:
bash